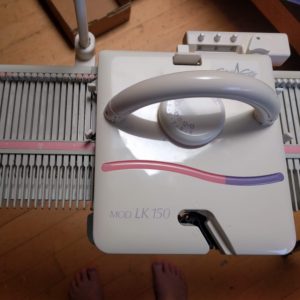
 In June I got a new set of needles– 150 to be exact– in the form of an LK-150 mid gauge knitting machine. About 17 years ago I acquired a 1960’s era standard gauge Brother knitting machine in a silent auction where I was the only bidder. I played around with it for a bit and made the parts to a drop shoulder baby sweater that was only recently completed. I’ve become a big fan of Amy Herzog’s Custom Fit program and recently stumbled across a post from someone doing a lot of the work on a knitting machine and finishing by hand. It seemed like a brilliant way to work through a lot of stockinette in a short amount of time. Just by chance, someone was selling an LK-150 in my area on Craigslist. It’s a much newer machine that can work with yarns from fingering to worsted. (The Brother is best for yarns lace to fingering.) I completed two projects on it in June:

First, I finished my Featherweight Cardigan. Although it’s laceweight yarn, it was started on US 6 needles, so it worked best with the LK-150. It took me about five days to complete with the help of the knitting machine. I made and washed a swatch to match my hand knit gauge, hung and finished the back I’d been working on, knit the ribbing for the fronts and sleeves by hand, then hung and knit them up. The final two days of the five were spent knitting the wide ribbed collar and buttonbands. I am very pleased with the results and am now able to wear this lightweight sweater as a morning layer.
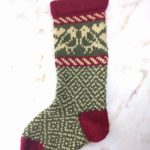 Second, I played with a variety of methods for working Fair Isle on the LK-150 using this resource. I used the Christmas Stocking pattern from Faye Kennington and re-engineered it a bit to be made top down on the knitting machine with a hand knit heel and toe. That little stocking took me five days as well as I had to frog a lot of mistakes (the birds got knit upside down the first time, for instance). But by the end, I felt pretty confident I could work Fair Isle on the machine.
My hand knitting has been making a lot of progress despite my distraction with my new toy!
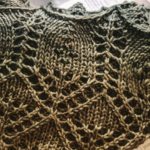 My yarn arrived and I finished my new shawl design. My hat is off to Anzula for their quality control on their colorways. I was prepared to blend in the new skein as it would be from a different dye lot, but the match was so good, I didn’t actually need to do that. Here’s a sneak peek. It will be up for test knitting soon in my Ravelry Group! Sign up to be a test knitter if you’d like to hear about this opportunity.
I also made a lot of progress on my On a Whim pullover. I’ll continue to work it by hand. I’ve finished the body of the sweater and am working the sleeve cap decreases on the first sleeve. One sleeve to go and it will be ready to sew together!
My first Fidget sock is complete and the toe is started on the second sock.
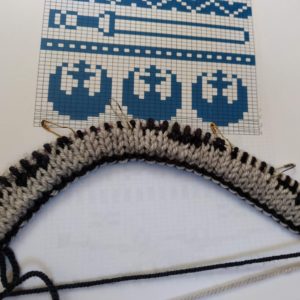
I also started a new knit along project with my friend in Kansas. We are making the Star Wars Double Knit Scarf. This one requires a lot of concentration. I think it will be on the needles for a while.
Finally, I spent a lot of time swatching for some possible third party submissions. I love swatching, to tell the truth. My swatches are fairly large but much smaller than a garment and I love having that canvas to explore ideas.
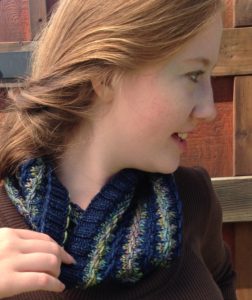 I’m so excited to announce a new pattern release! The Seetang Cowl is a cozy and richly-textured cowl that uses a semi-solid and variegated yarn to create undulating textured stripes in a slipped stitch pattern. Only one yarn is used per round in this rhythmic, easy-to-knit pattern and both written and charted instructions are provided.
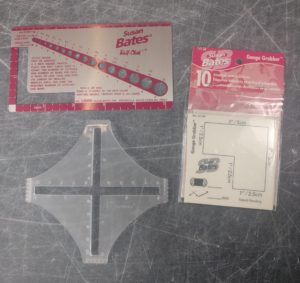 My good ol’ Susan Bates ruler: Gauge rulers like this come in many variations, but the all involve an L-shaped hole in some kind of rigid material. Lay it over your swatch, line up the L to a horizontal and vertical line of stitches and count away. Double the number you get to find your gauge over 4″ (10 cm).