Browsed by
Category: patterns

New Circular Sock Machine Cookbook

New Circular Sock Machine Cookbook

My last blog post was over a year ago, near the beginning of the pandemic. Since then, a lot has happened. I had a stroke in April of 2020, I worked hard to recover, and then I went back to teaching full time. All the while, I’ve had patterns floating around that I wanted to make into a new CSM Cookbook. Finally, that time has arrived.
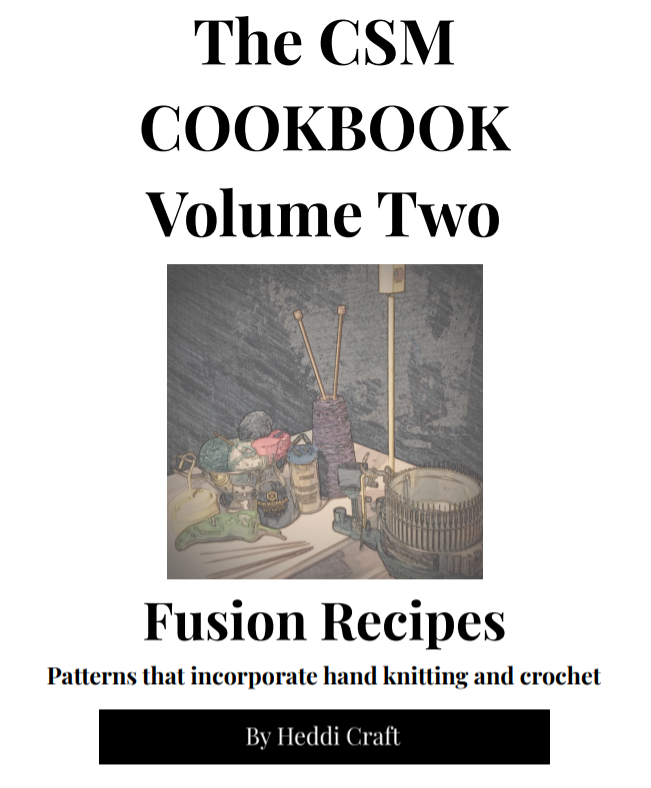
You can find The CSM Cookbook Volume Two: Fusion Recipes on Ravelry as an ebook or as individual patterns. Below is the introduction to Volume Two.

Introduction to The CSM Cookbook Volume Two: Fusion Recipes

Recipe checklists started out as a way to keep myself organized.  I noticed that as I learned of all the wonderful things I could make on my CSM that I would get confused or over confident and start skipping steps.  I made myself some checklists so that I wouldn’t forget all the important steps to making a given item but I kept them open ended so that I could use them over and over again.  From those lists came my first “cookbook” of recipes, The CSM Cookbook.  However, I still had a lot of checklists left over that didn’t quite fit in a basic sock book and many of them used hand knitting or crochet for finishing.  This book contains six of those patterns and includes two types of socks, mitts as well as mittens, headbands with four finishes, and a scarf with a crocheted trim.  All include hand knitting or crochet after the work on the sock machine is finished so I’ve termed them “fusion recipes” that combine more than one craft just as “fusion cooking” combines more than one cuisine!

There are some things I’m expecting you to know before using these patterns:

  • I’m assuming that you know how to set up your machine, adjust the tension, and get started on some waste yarn.  I refer to hanging a bonnet, but however you start a sock is fine.
  • I’m assuming that your cylinder is marked with half marks to divide the front and the back of the cylinder evenly and that both the front and the back half have target needles marked for making heels and toes.  
  • I’m assuming that you know how to do things like engage your heel spring and crank in both directions for heels and toes.
  • Since rehanging heel forks or v-hooks while making a heel or toe depends on your particular set up, there aren’t directions for when to do this.  Just move your weights when needed.
  • Finally, I’m assuming that you have learned how to clean your machine, time your ribber, and adjust your yarn carriage.

If you need help with any of those things, I’ve included some of the best online instructions and videos in the Resources section of my first book, The CSM Cookbook.  The first volume of the CSM Cookbook also contains directions for making gauge swatches, a worksheet to easily determine the rounds needed for a given person’s foot, and illustrations for techniques I mention in the patterns.  Once you have those basic skills, these checklists will help you put them together to make beautiful socks and accessories.  

I was introduced to circular sock machines as a hand knitter and knitwear designer, so you will see that I use hand knitting and US crochet terms within this book. The patterns are written in an open ended format so that you can customize the patterns to your liking.

There are many ways to accomplish a particular result on a sock machine.  I’ve outlined the methods that work well for me, but please explore other methods and find the ones that are right for you.  Part of the process of learning to use a sock machine is making mistakes.  These checklist style patterns will help keep you from making mistakes in completing all the steps of the process, but you’ll still have plenty of dropped stitches and other errors.  My advice is to take on a learner’s mindset.  Go slow at first, try new methods now and then, and enjoy the process of figuring things out!

Included in this book you will find six different recipes for socks and accessories.  Each recipe takes you through all the steps of making that particular item.  One recipe, the Afterthought Sock, contains reproducible directions that can be included with machine knitted tubes you sell or gift to friends.  This is the only pattern that you have permission to reproduce for others.  The rest you may reproduce for your personal use only.
Introduction to The CSM Cookbook

Introduction to The CSM Cookbook

You can purchase The CSM Cookbook through Ravelry. The following is the introduction to the book.

This project started out as a way to keep myself organized.  I noticed that as I learned more and more ways to make socks on my CSM that I would get confused or over confident and start skipping steps.  I made myself some checklists so that I wouldn’t forget all the important steps to making a given type of sock but I kept them open ended so that I could use them over and over again.  From those lists came this “cookbook” of recipes that you can use on your sock machine. Think of this as a basic first cookbook – it contains twelve recipes for all of the most common circular sock machine styles with six socks that are “top down” and start with the cuff or hem, and six socks that are “toe up” and start with an extended toe that can be stretched across the cylinder for a seamless design.

There are some things I’m expecting you to know before using these patterns:

  • I’m assuming that you know how to set up your machine, adjust the tension, and get started on some waste yarn.  I refer to hanging a bonnet, but however you start a sock is fine.
  • I’m assuming that your cylinder is marked with half marks to divide the front and the back of the cylinder evenly and that both the front and the back half have target needles marked for making heels and toes.  
  • I’m assuming that you know how to do things like engage your heel spring and crank in both directions for heels and toes.
  • Since rehanging heel forks or v-hooks while making a heel or toe depends on your particular set up, there aren’t directions for when to do this.  Just move your weights when needed.
  • Finally, I’m assuming that you have learned how to clean your machine, time your ribber, and adjust your yarn carriage.

If you need help with any of those things, I’ve included some of the best online instructions and videos in the back of this book in the Resources section.  Once you have those basic skills, these checklists will help you put them together to make beautiful socks.

Once I started working on these patterns, I realized that there were other things a new cranker (that’s a person who uses a hand crank sock machine) might like to have, like directions for making gauge swatches or a worksheet to easily determine the rounds needed for a given person’s foot or illustrations for techniques I mentioned in the patterns.  Suddenly, I had a whole book, not just patterns!

I was introduced to circular sock machines as a hand knitter and knitwear designer, so you will see that I use hand knitting terms within this book.  Many of my hand knitting skills transferred easily to working with the sock machine, so I used those conventions as I wrote. The patterns are written in an open ended format so that you can customize the pattern to make the type of sock you want in that style.  Every pattern can be used to make anything from an ankle sock to a knee sock and from the most petite foot length to an extra long foot, just fill in the blanks to adjust the leg and foot as needed.

As in hand knitting, there are many ways to accomplish a particular result on a sock machine.  I’ve illustrated the methods that work well for me, but please explore other methods and find the ones that are right for you.

One final comment:  Part of the process of learning to use a sock machine is making mistakes.  These checklist style patterns will help keep you from making mistakes in completing all the steps of the process, but you’ll still have plenty of dropped stitches and other mistakes.  The video channels listed in the Resource section show many examples of how to recover from mistakes. When something goes wrong, I usually try to estimate how long it will take me to repair the mistake compared to just scrapping the sock and starting over.  My advice is to take on a learner’s mindset. Go slow at first, try new methods now and then, and enjoy the process of figuring things out!

Anatomy of a Sock

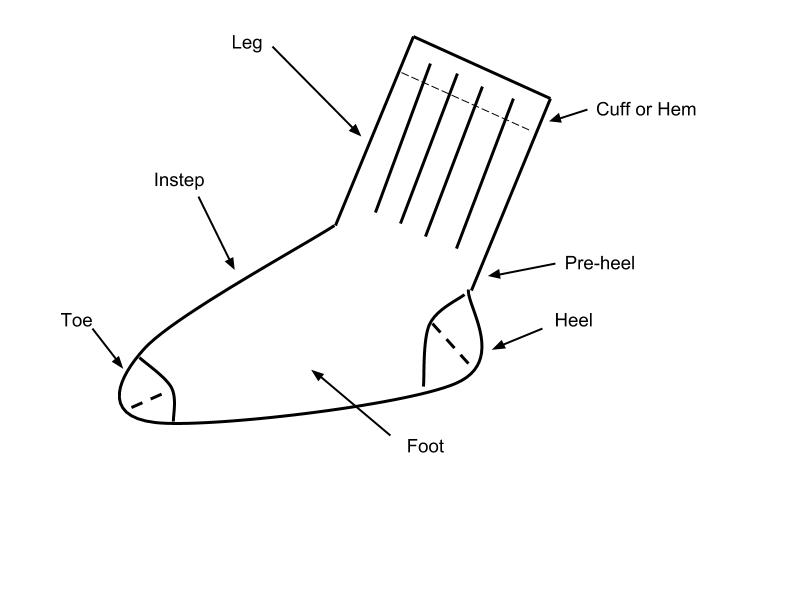
Included in this book you will find six different socks that start at the cuff or top hem and six that start at the toe.  Each recipe takes you through all the steps of making a particular type of sock. Below is a diagram of the basic parts of a sock, whether you work the sock from the top down to the toe or from the toe up to the top.  

There are a few distinctions between parts depending on the type of sock.  The very top of the sock is referred to as the cuff when it is ribbed and as a Hung Hem if the edge is folded over and secured on the inside of the sock.  A pre-heel is a part of the sock that is worked in smooth stockinette for the back of the heel so that the sock fits better and is more comfortable inside a shoe.  If the sock doesn’t have ribbing or mock ribbing on the leg, there will not be a pre-heel.

Purchase the complete 72 page ebook today!

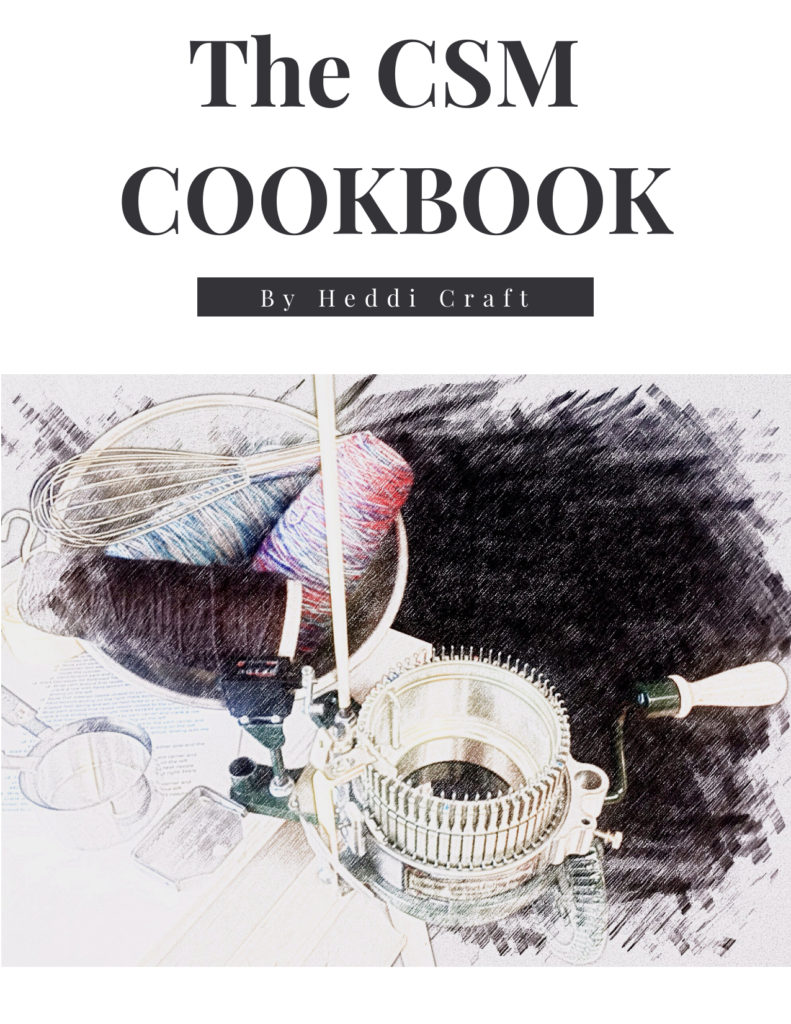
The CSM Cookbook

The CSM Cookbook

I’m so excited to announce a new ebook I’ve published called The CSM Cookbook! I’ve been working on this ebook for many months now and I consider it a basic first cookbook of checklist style patterns for the circular sock machine. The ebook contains twelve patterns for all of the most common circular sock machine styles with six socks that are “top down” and start with the cuff or hem, and six socks that are “toe up” and start with an extended toe that can be stretched across the cylinder for a seamless design.

You will also find chapters on making gauge swatches, sizing socks to fit your feet, an illustrated glossary of techniques, information on finishing socks, and a list of additional resources.

The twelve patterns included are:

Chapter 1 of the ebook is called Swatching for Gauge. I discuss all the things that can affect gauge, give directions for making a gauge swatch, explain how to do the math, and give you a worksheet for recording gauge information.

Chapter 2 is called sock sizing. I discuss the measurements you need to make great fitting socks, explain how to calculate how many rounds you need for each part of your sock, and provide a sock sizing worksheet you can use for each pair of socks you make.

Chapter 3 describes how to work the Quick and Easy Heels and Toes.

Chapter 4 is a ten page illustrated guide to common techniques and terms used in the patterns. If you are still learning about making socks, this chapter along with the resources in Chapter 7 will help you know what to do!

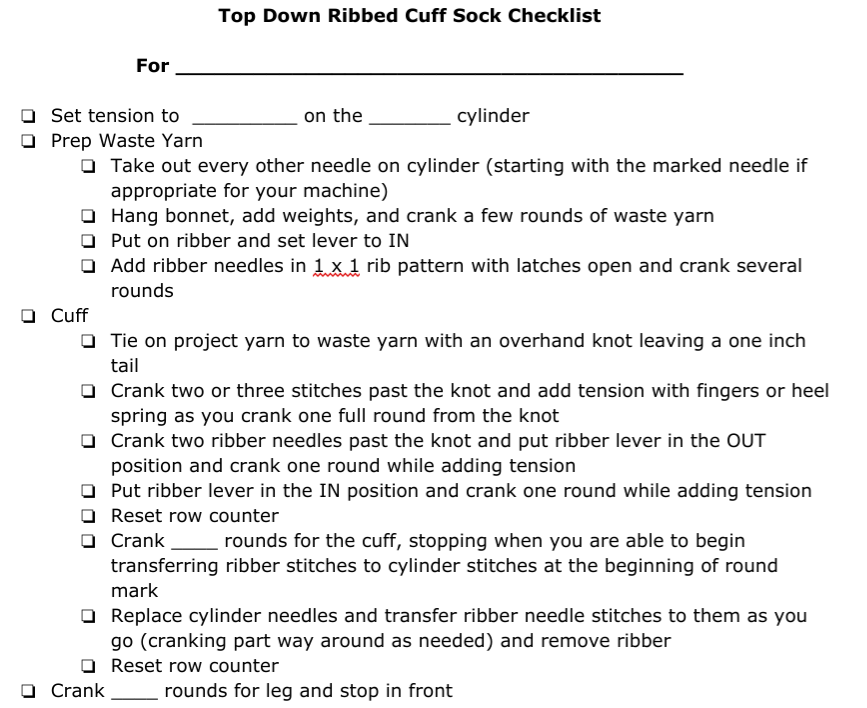
Chapter 5 includes all twelve checklists. These checklists are written in a step by step style so that you’ll never forgot to release your heel spring or stop in the front! You provide your own numbers based on swatching to make the socks the length and height you want. An example is shown below.

Chapter 6 provides links and tips for finishing both toe up and top down socks.

Chapter 7 is a list of additional resources, including video channels, links to manuals, and more!

All in all you’ll get 72 pages of information to make you successful in making socks on your CSM! Purchase and download it today!

Happy New Year 2019

Happy New Year 2019

Happy new year!  If you are a regular reader of my blog, I apologize for the long period of silence this fall.  This year I started teaching again in a 50% teaching position which seems to take 70% of my time!  I have really enjoyed being back in the classroom and I’m lucky to be working at a small school where I get to spend time with both younger and older students!

Now that my routine has settled there, I’m hoping to get back to regular blogging.  So let me catch you up on the knit-worthy goings on in the last three months!

I’ve been continuing to teach classes at Knit Sew Make, a teaching studio I started in the spring of 2018 with two other fiber artists.  For January and February, I’m teaching a Knitter’s Workshop class for self directed projects and a Crochet Mandalas class.  Check out our class registration website for a list of all our classes.

I also used my Erlbacher Gearhart hand crank sock machine to make over 50 items for our local Homeless Garden Project Holiday Store that benefits programs for the homeless here in Santa Cruz, CA.  I learned even more about what my sock machine can do and I’m planning to release some checklist style patterns for circular sock machines this spring.

I was a participating designer for the Indie Design Gift-A-Long and I helped moderate the Hands forum this year.  If you don’t know about this great event on Ravelry, join the group and keep your eyes open in late November 2019 for the beginning of the sale and Gift-A-Long.  It’s full of friendly people and starts with a sale of patterns from literally hundreds of independent designers!  I managed to complete three great patterns by other indie designers this year:  I made several Sheep Tape Measure Covers by Justyna Kacprzak as gifts, I completed the Sunstone hat by Triona Murphy, and I made the Christmas Tree Wrap by handmade by SMINÉ.

I also have FOUR new patterns that came out this fall!

The Simple Colorwork Mitts are an easy to knit pattern in worsted weight yarn that have three choices of colorwork for the tops of the mitts.

Lernen is a fingering weight lace shawl.  It’s perfect for beginning lace knitters as it gradually adds new stitches as you work the shawl.

Drachen is a oversized fit drop shoulder sweater that was published in Knitty Magazine.  It features a colorwork dragon motif around the hem.

Finally, the Stripes of Many Colors Cowl is the perfect way to use up the mini-skeins from a yarn advent calendar or any collection of mini-skeins or leftover yarn.  You’ll need about 135 yards of a contrast color to use throughout the cowl, but I think you will love the results!


In addition to the Gift-a-Long projects I completed, I also finished my Spanish Bay Cardigan, a pair of shortie socks that I gave as a gift, and my convertible poncho.  I started the Judah Cardigan just last week.

So although I didn’t find time to write much here, it’s been a busy three months!  You can also follow me on Instagram and on Facebook, where I often find time to make some quick updates!


On and Off the Needles for September

On and Off the Needles for September

This last month’s report will be a little slim as I’ve been working on some secret projects to be revealed in 2019.  However, I do have one new pattern release!  The Simple Colorwork Mitts are now available on my Ravelry store.  These mitts are a great way to use leftover worsted weight yarn and they come in three sizes with three patterns for the palm.  If you are a reader of my blog, you can get the pattern for 50% off using the code BLOGREADER at checkout!  Enjoy!

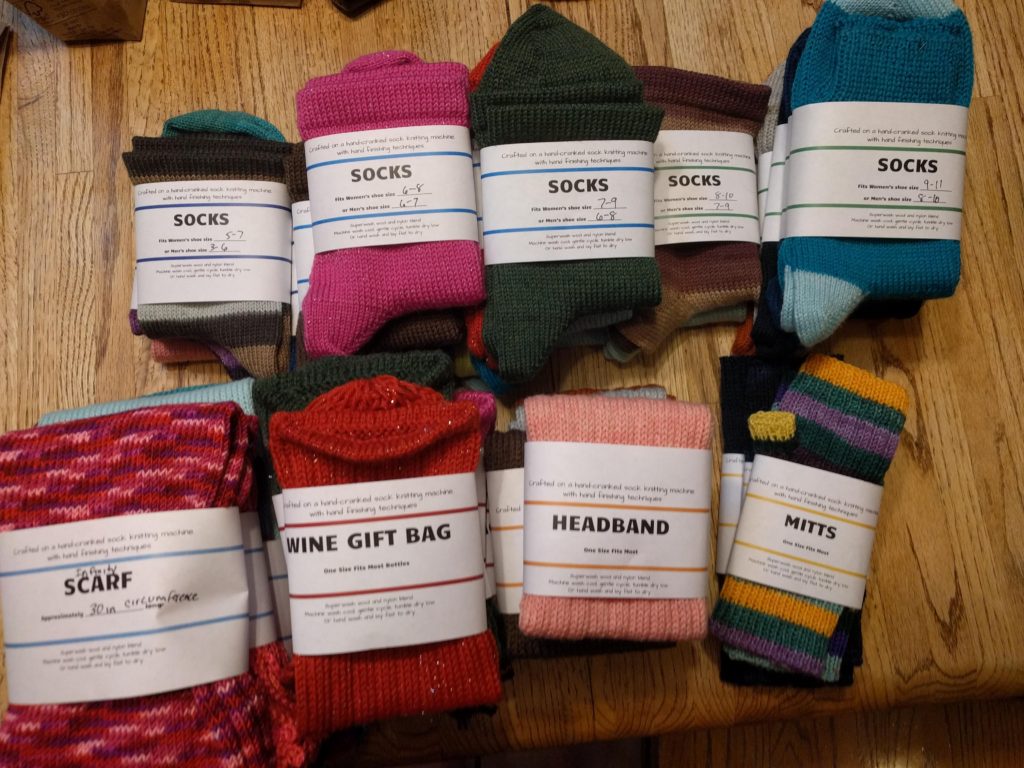
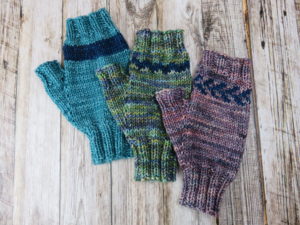
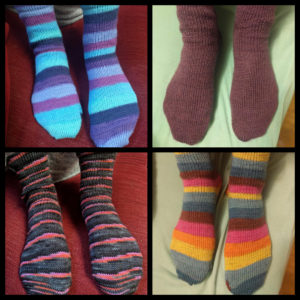
I’ve also been spending quite a bit of time working at my sock machine this month.  I’ve made several pairs of socks for my daughter (she picked the yarn from my stash and also worked on some preemie hats and a pattern for a wine bottle cozy.  I’m starting to make socks to give away or sell for the holiday season.  I also made a whole string of fingerless mitts that now need to be finished and have the thumbs hand knit.

I put in a few rows on my Star Wars Scarf, my Japanese Poncho/Cardigan, and my Spanish Bay is just a few woven ends in from being done!

Reading Japanese Knitting Patterns

Reading Japanese Knitting Patterns

After getting the really great Japanese Knitting Patterns book, I’ve decided I wanted to explore some other Japanese pattern books.  I signed up for a class at Stitches West in February but that’s a long way off!

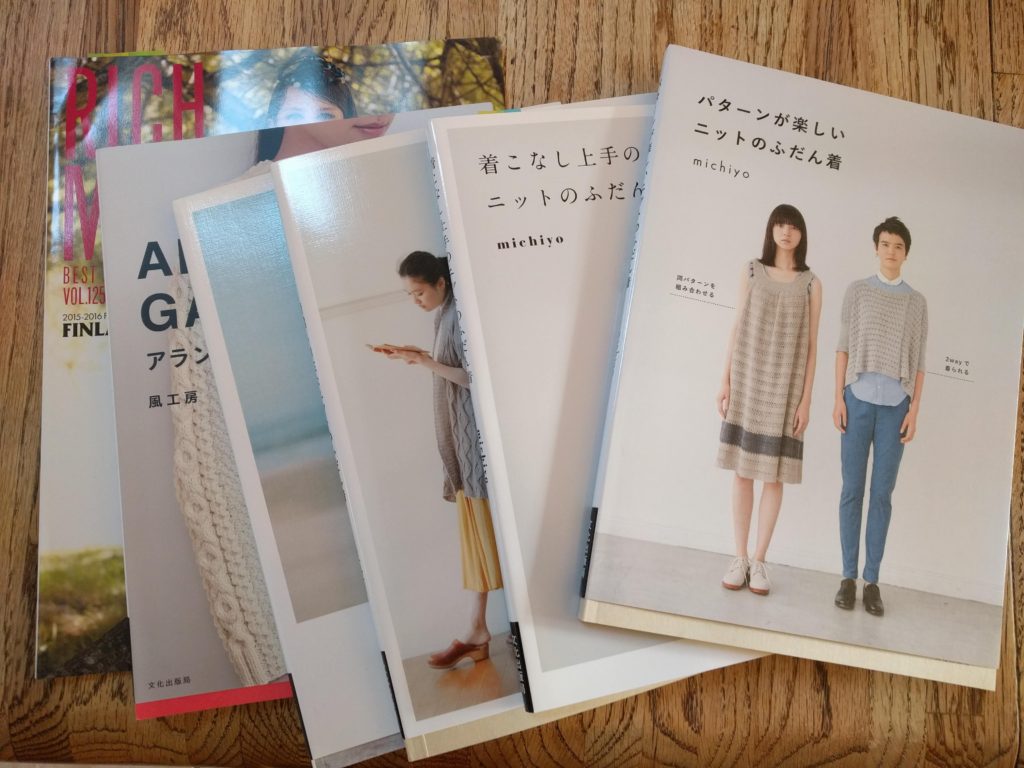
So first I visited Kinokuniya, the Japanese bookstore in San Jose.  I’ve browsed Japanese knitting books there in the past, but perhaps because it is summer, they didn’t have much of a selection this time.  Then I remembered that I had heard about an Etsy shop that carries all kinds of Japanese craft books and magazines.  I searched through literally hundreds of books and magazines and narrowed it down to six that I ordered.

The books and magazines have arrived and now I’m puzzling through the construction details for a few favorite patterns.  I thought I’d share the resources that I’ve been using to help me.

In addition to the front material in Japanese Knitting Patterns, Twig and Horn have a great post on how to read Japanese knitting patterns.  One of the most important things it explains is how to read the decrease information for armholes and necklines.

I also found a Japanese/English dictionary full of knit specific terms that has been useful.

Ravelry has a Japanese Knitting and Crochet group that is also very helpful.

If you have used Japanese knitting patterns, I’d love to hear your favorite resources!

New Pattern Release: Seetang Cowl

New Pattern Release: Seetang Cowl

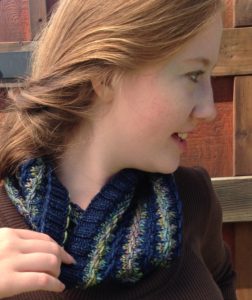
I’m so excited to announce a new pattern release!  The Seetang Cowl is a cozy and richly-textured cowl that uses a semi-solid and variegated yarn to create undulating textured stripes in a slipped stitch pattern.  Only one yarn is used per round in this rhythmic, easy-to-knit pattern and both written and charted instructions are provided.
I loved seeing all the variations my test knitters created!  They will be adding their projects over the next few days so you can see everything from subtle to bold color variations for this pattern!  Most test knitters completed this project in just a couple of days, so you know it will make a great last minute gift.

If you are a blog reader, please use the code SUMMER in Ravelry to receive 20% off this pattern through the end of July 2018.

I look forward to seeing your finished cowls!

New Japanese Knitting Book

New Japanese Knitting Book

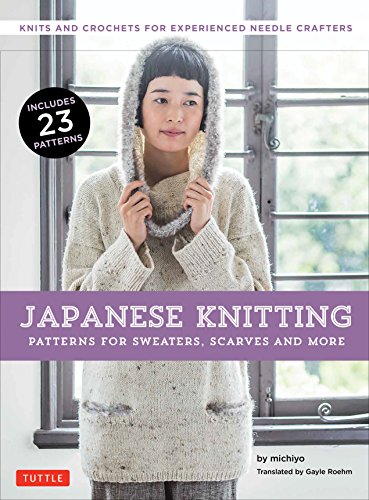
 I recently purchased the book Japanese Knitting: Patterns for Sweaters, Scarves and More that has been translated into English and published by Tuttle Publishing.  They also recently published the Japanese Knitting Stitch Bible, also a translation.
I have a number of Japanese stitch dictionaries but have shied away from the pattern books in Japanese, feeling concerned that there is too much I’d have to puzzle out.  This book is translated to English from the original Japanese but it keeps the format and style of the original patterns, which are much more brief than modern American patterns.  It also includes a special five page introduction to Japanese knitting patterns for English readers that explains how the patterns are traditionally laid out.  I think those five pages were worth the cost of the book because they have given me more confidence to look at the Japanese language pattern books again next time I am at a Japanese bookstore.

My favorite pattern in the whole book is F Poncho and Cardigan, a garment that can be worn both as a poncho style garment with sleeves or as a circle style cardigan.  It’s one of several two way garments that caught my imagination both as a knitter and as a designer.  I have yarn on the way and hope to start working on this one soon!

Despite being called Japanese Knitting, there are several crochet patterns included that have a very fresh look and interesting surface texture.  I particularly like P Vest and Stole, another two way garment that can be worn both as a long vest or as a wrap.

Many of the garments use simple shapes to make elegant silhouettes and would not be difficult to knit.  The English version helpfully includes cm to inch conversions on each pattern page for the measurements listed for that pattern.  It also includes a chart that gives you more details about the yarns used in the patterns, which are difficult to find outside of Japan, so that you can make effective substitutions.

Overall, I’m happy to be able to add this book to my collection and I hope Tuttle puts out more of these gems!

Crochet Water Balloons for Summer

Crochet Water Balloons for Summer

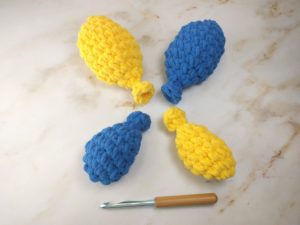
A few weeks ago a friend sent me a link to an article about crocheted water balloons.  The idea was to make a balloon shape out of Bernet Blanket yarn and then soak them in a bucket to throw instead of a traditional water balloon.  The yarn is very absorbent so they soak up a lot of water and make a pretty satisfying splat!

Advantages: reusable, machine washable, don’t leave bits of plastic all over your yarn for birds and wild animals to get, easy to “fill,” fast to make.

Disadvantages: don’t make quite the same explosive splash as a traditional water balloon and they are made of synthetic yarn so you haven’t gotten totally away from the plastic problem.

All the patterns I found online worked in rounds with a chain up instead of working in a spiral, and of course I felt many weren’t quite round enough or had enough of a balloon looking top.  Many patterns called for a magic loop start, which I think is hard in this yarn because it is so grippy.  So in the end, I designed my own pattern!
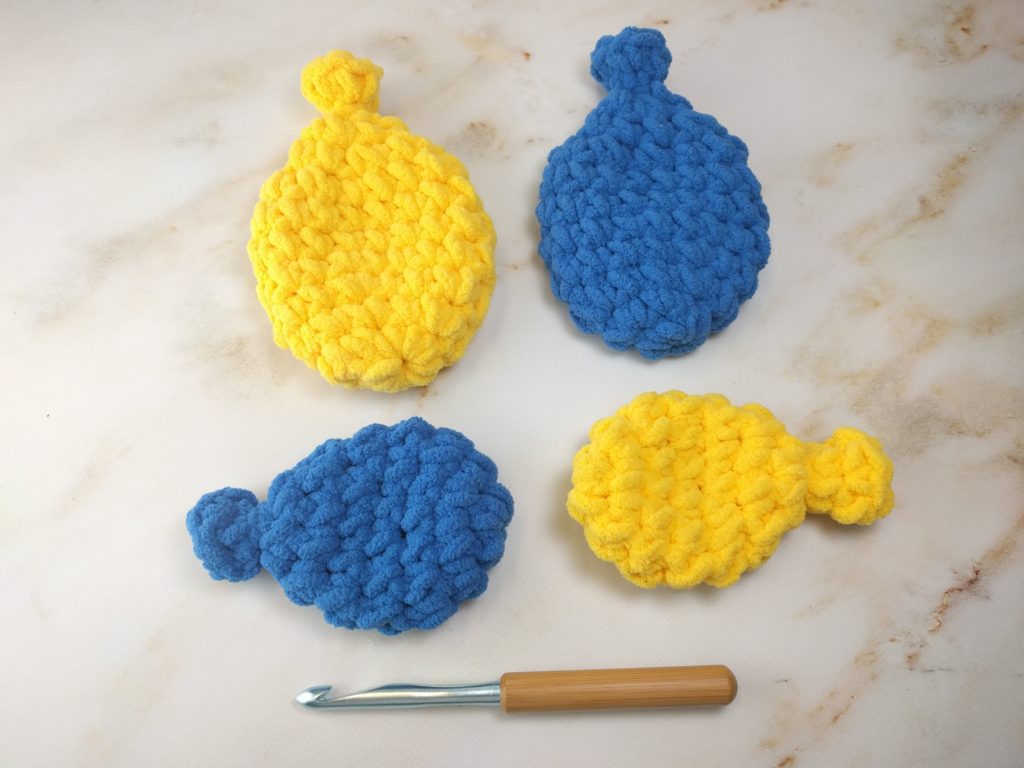
If you are local to Santa Cruz, CA, I’ll be teaching a class on how to make these at Knit Sew Make.    If not, or if you are already comfortable with crochet, here’s the pattern so you can make your own!

Materials Needed:

  • Size 9mm crochet hook (US size M)
  • Bernet Blanket Yarn (or other super bulky chenille style yarn)
  • Removable Stitch Marker

Note: Balloons are worked in a continuous spiral.  To keep track of where the rounds begin, place a removable stitch marker in the first stitch of the round and move it up after each round is completed.

Small Balloon

Round 1: Ch 2, 6 sc in second ch from the hook, do not join. (6 sts)

Round 2:  2 sc in each st around (12 sts)

Rounds 3-4: Sc 12.

Round 5: [Sc 4, sc 2 tog) twice. (10 sts)

Round 6: [Sc 3, sc 2 tog] twice. (8 sts)

Round 7: Sc 2 tog four times. (4 sts)

Round 8: Sc 4.

Round 9: [Sc 1, 2 sc in next st] twice, join to beginning of round with slip stitch. (6 sc).

Fasten off.  Use a piece of yarn to tie the neck of the balloon and push all ends to the inside of the balloon.


Large Balloon

Round 1: Ch 2, 8 sc in second ch from the hook, do not join. (8 sts)

Round 2: [Sc 1, 2 sc in next sc] four times. (12 sts)

Round 3: [Sc 2, 2 sc in the next sc] four times. (16 sts)

Round 4-7: Sc 16.

Round 8: Sc 2 tog eight times.  (8 sts)

Round 9: Sc 8.

Round 10: Sc 2 tog four times.  (4 sts)

Round 11: Sc 4.

Round 12: 2 sc in each stitch around, join to beginning of round with slip stitch. (8 sts)

Fasten off.  Use a piece of yarn to tie the neck of the balloon and push all ends to the inside of the balloon.

On the Needles in February

On the Needles in February

Friday afternoon, I sat down on the couch and realized that I was surrounded by knitting bags!  Here’s what’s on the needles in this first week of February.

Last month, I started working on the CustomFit version of the Featherweight Cardigan.  I’m using Knit Picks Alpaca Cloud Lace yarn and I’m using this project to learn to knit on a knitting belt!  I’ve got about five inches of the back completed and I’m getting faster.  My goal is to be able to walk and knit using the knitting belt, but so far, I can just meander between the kitchen and the living room.

Last year at Stitches West, I took JC Briar’s class on Beginning Brioche.  The handout included a chart for us to practice our increases and decreases and shortly after the class I got some Malabrigo Rios in Black and Jupiter and started the chart as a scarf.  As Stitches West is coming up again at the end of the month and I have another class with JC (this time it’s Slick Set In Sleeves), I thought I’d try to finish it before the show.

I’m continuing to make progress on my Wynne Shawl by Sarah Jordan.  I started this as part of the Indie Designer GAL on Ravelry, but realized after Christmas I couldn’t finish it by the deadline and that its long rows of garter were so great as a knitting group project.  I bring this with me to my Saturday knitting group and to guild meetings and it will get done eventually.

I’m working on the second sock of a pair from the pattern Vanilla is the New Black by Anneh Fletcher.  It has an unusual heel construction and I’ve been using the p

attern to try out the Addi Flexi Flip needles I got at Vogue Knitting Live in Seattle.  I really like the pattern and it makes a nice heel that’s good for a high arch, but is easier than working a heel flap and gusset.  The needles are similar to working with Magic Loop and a bit easier than three or four DPNs.


Finally, I’m working on a secret knitting design that should be complete in the next few months or so.  More details on that when it comes out!

On the CSM, I’ve completed a few more pairs of socks and made a hat from a double layer of laceweight yarn.  You can find the details of how I did that on my Ravelry project page.