Browsed by
Month: March 2016

Resources for Dyeing Wool

Resources for Dyeing Wool

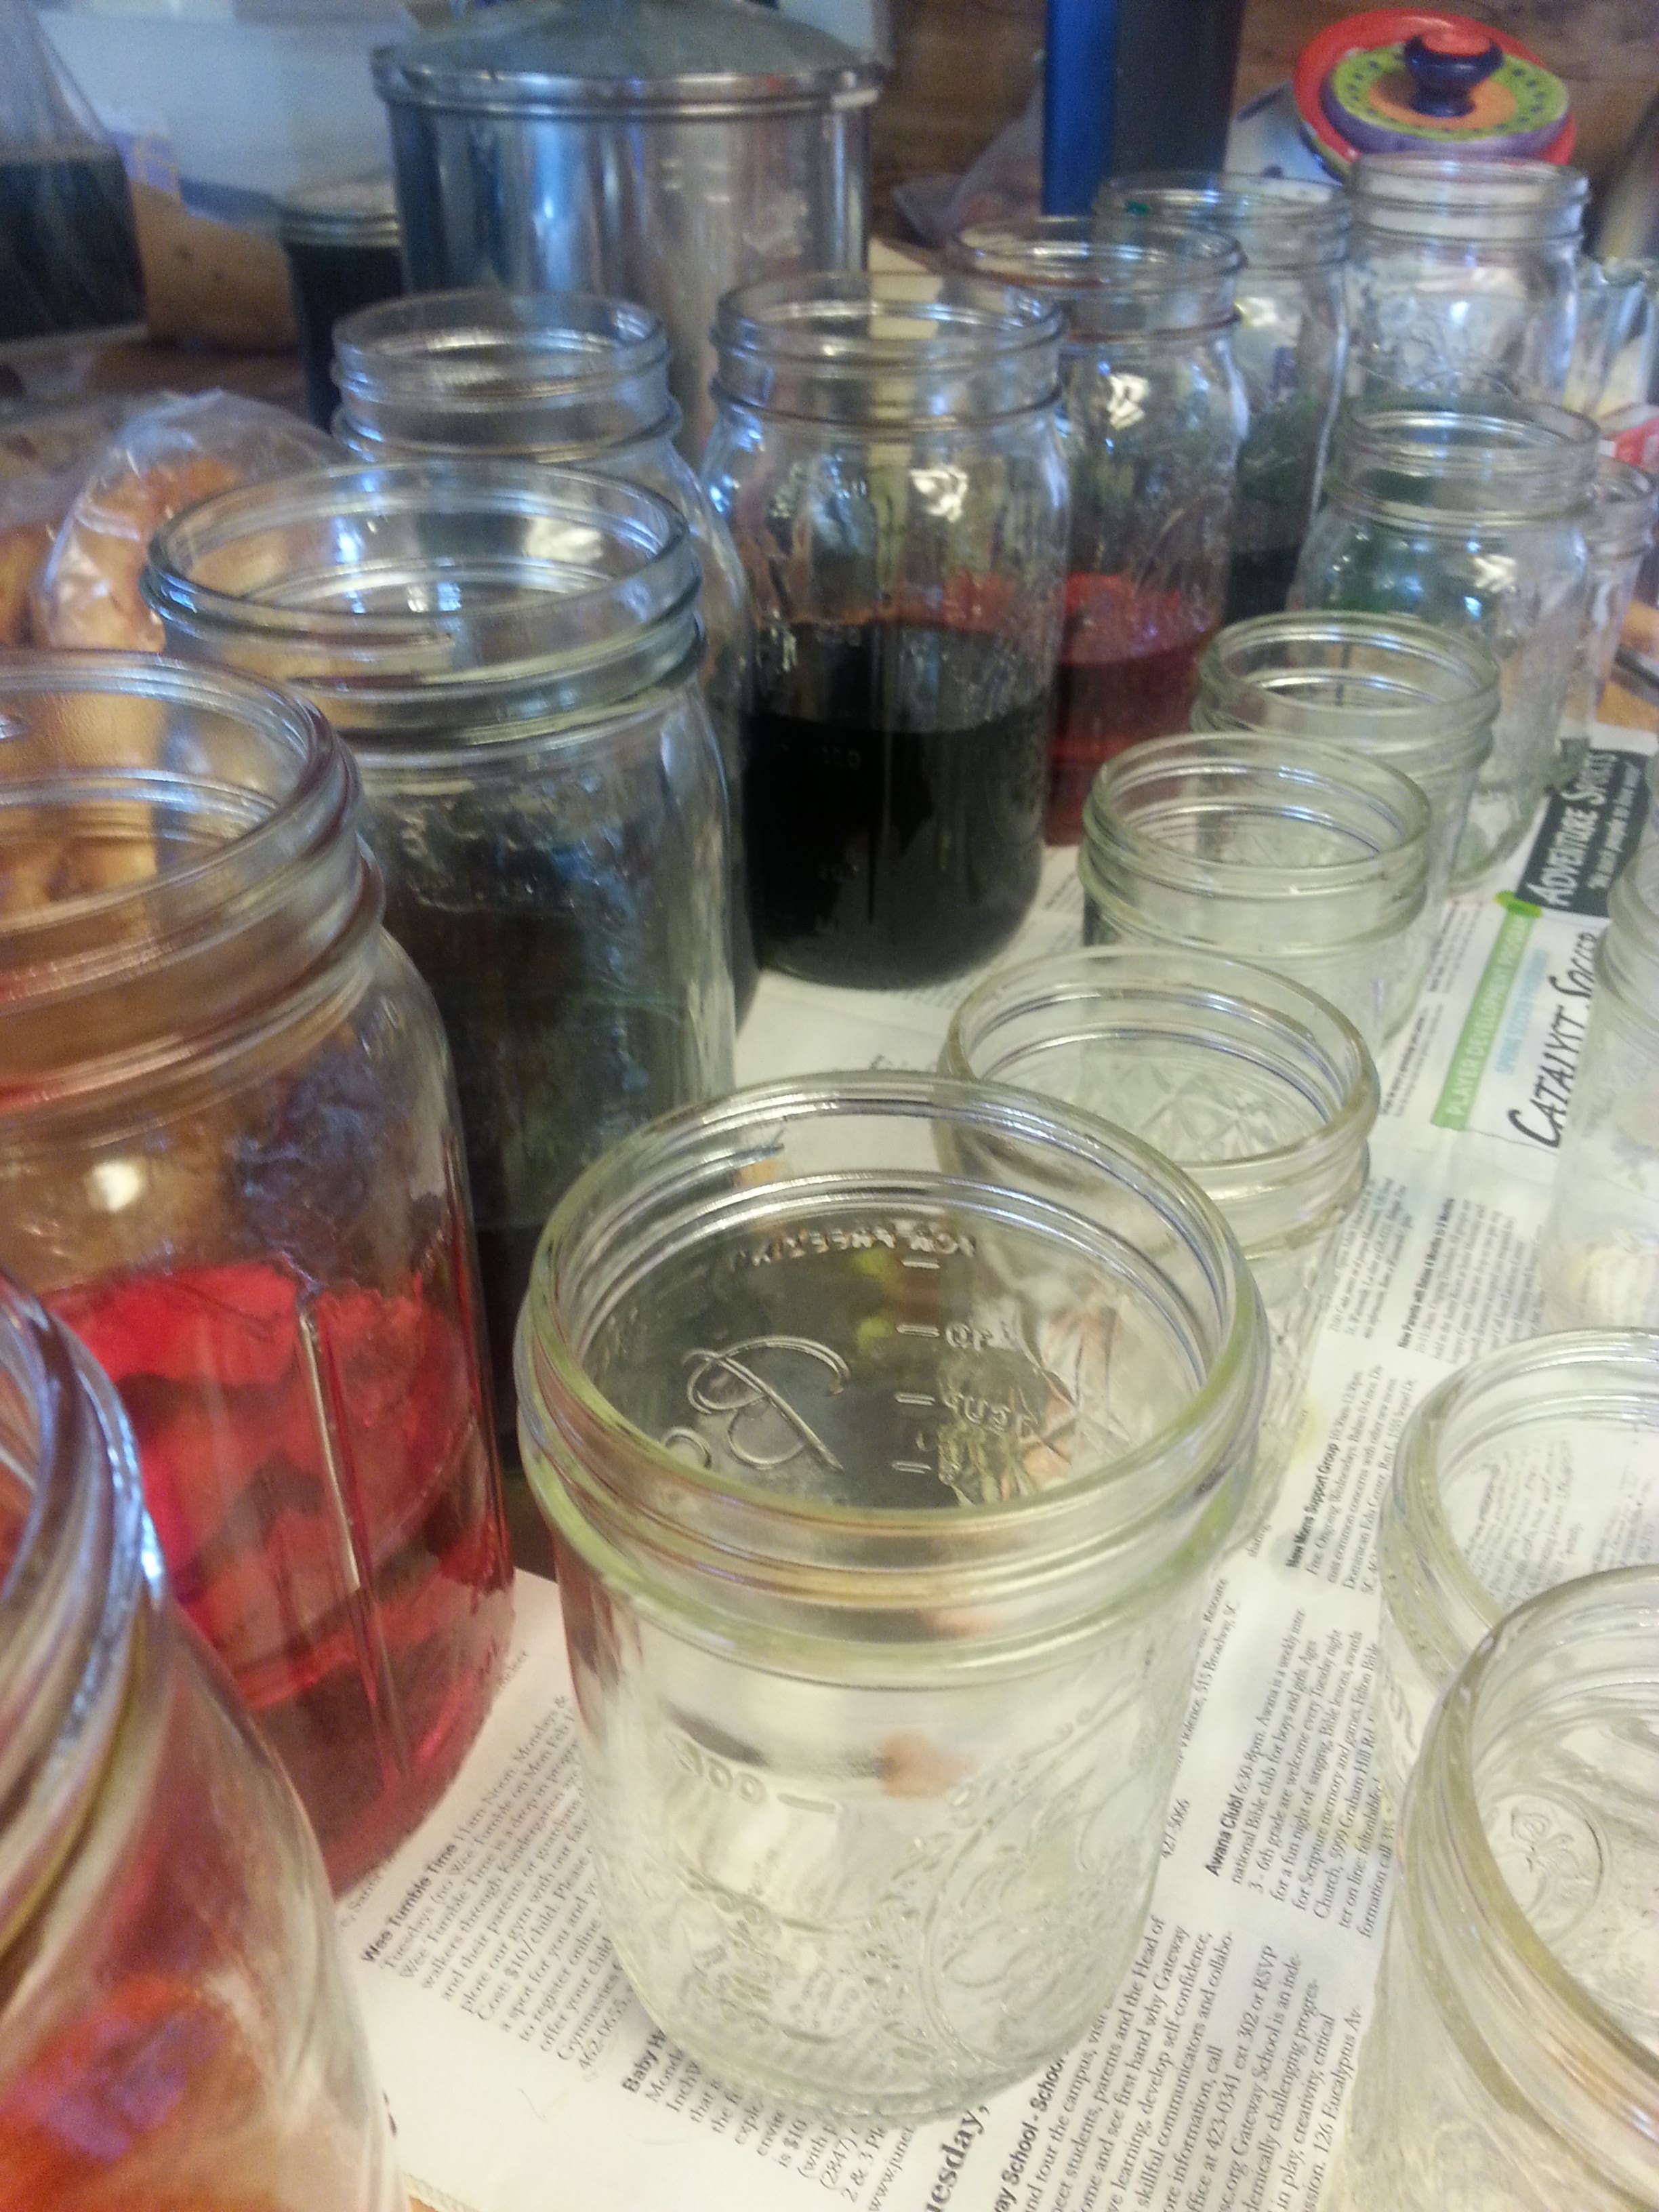
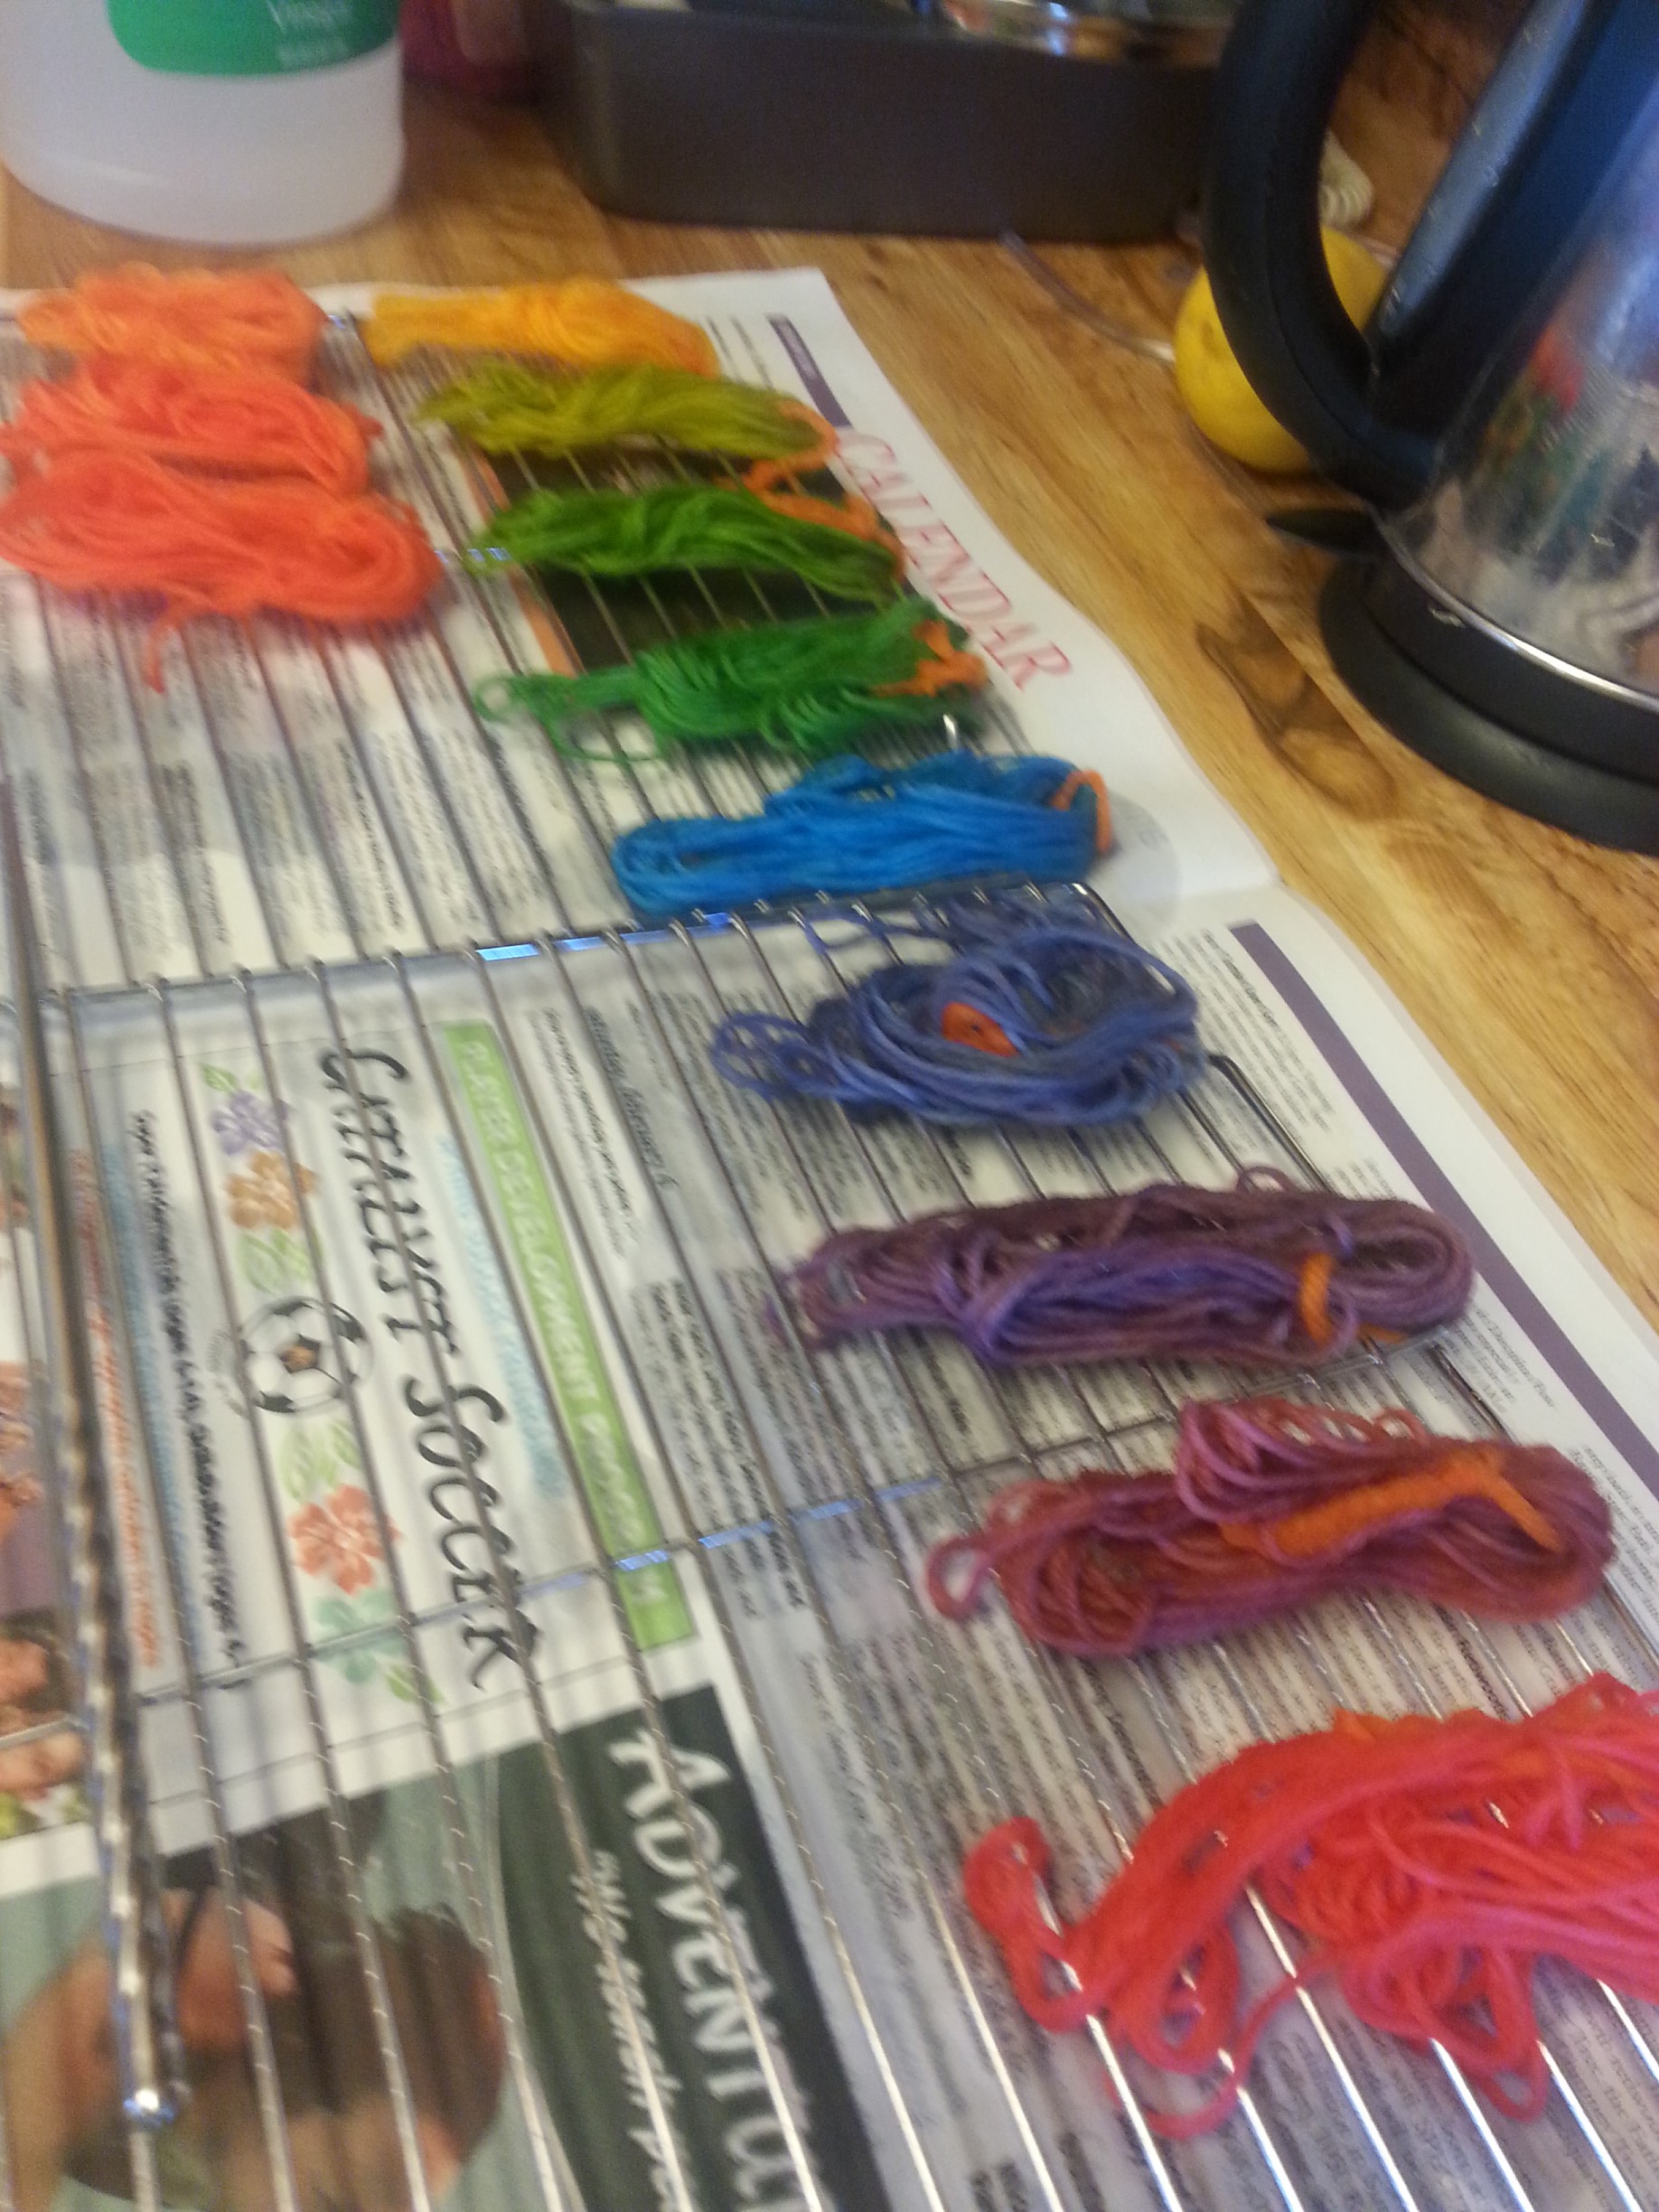
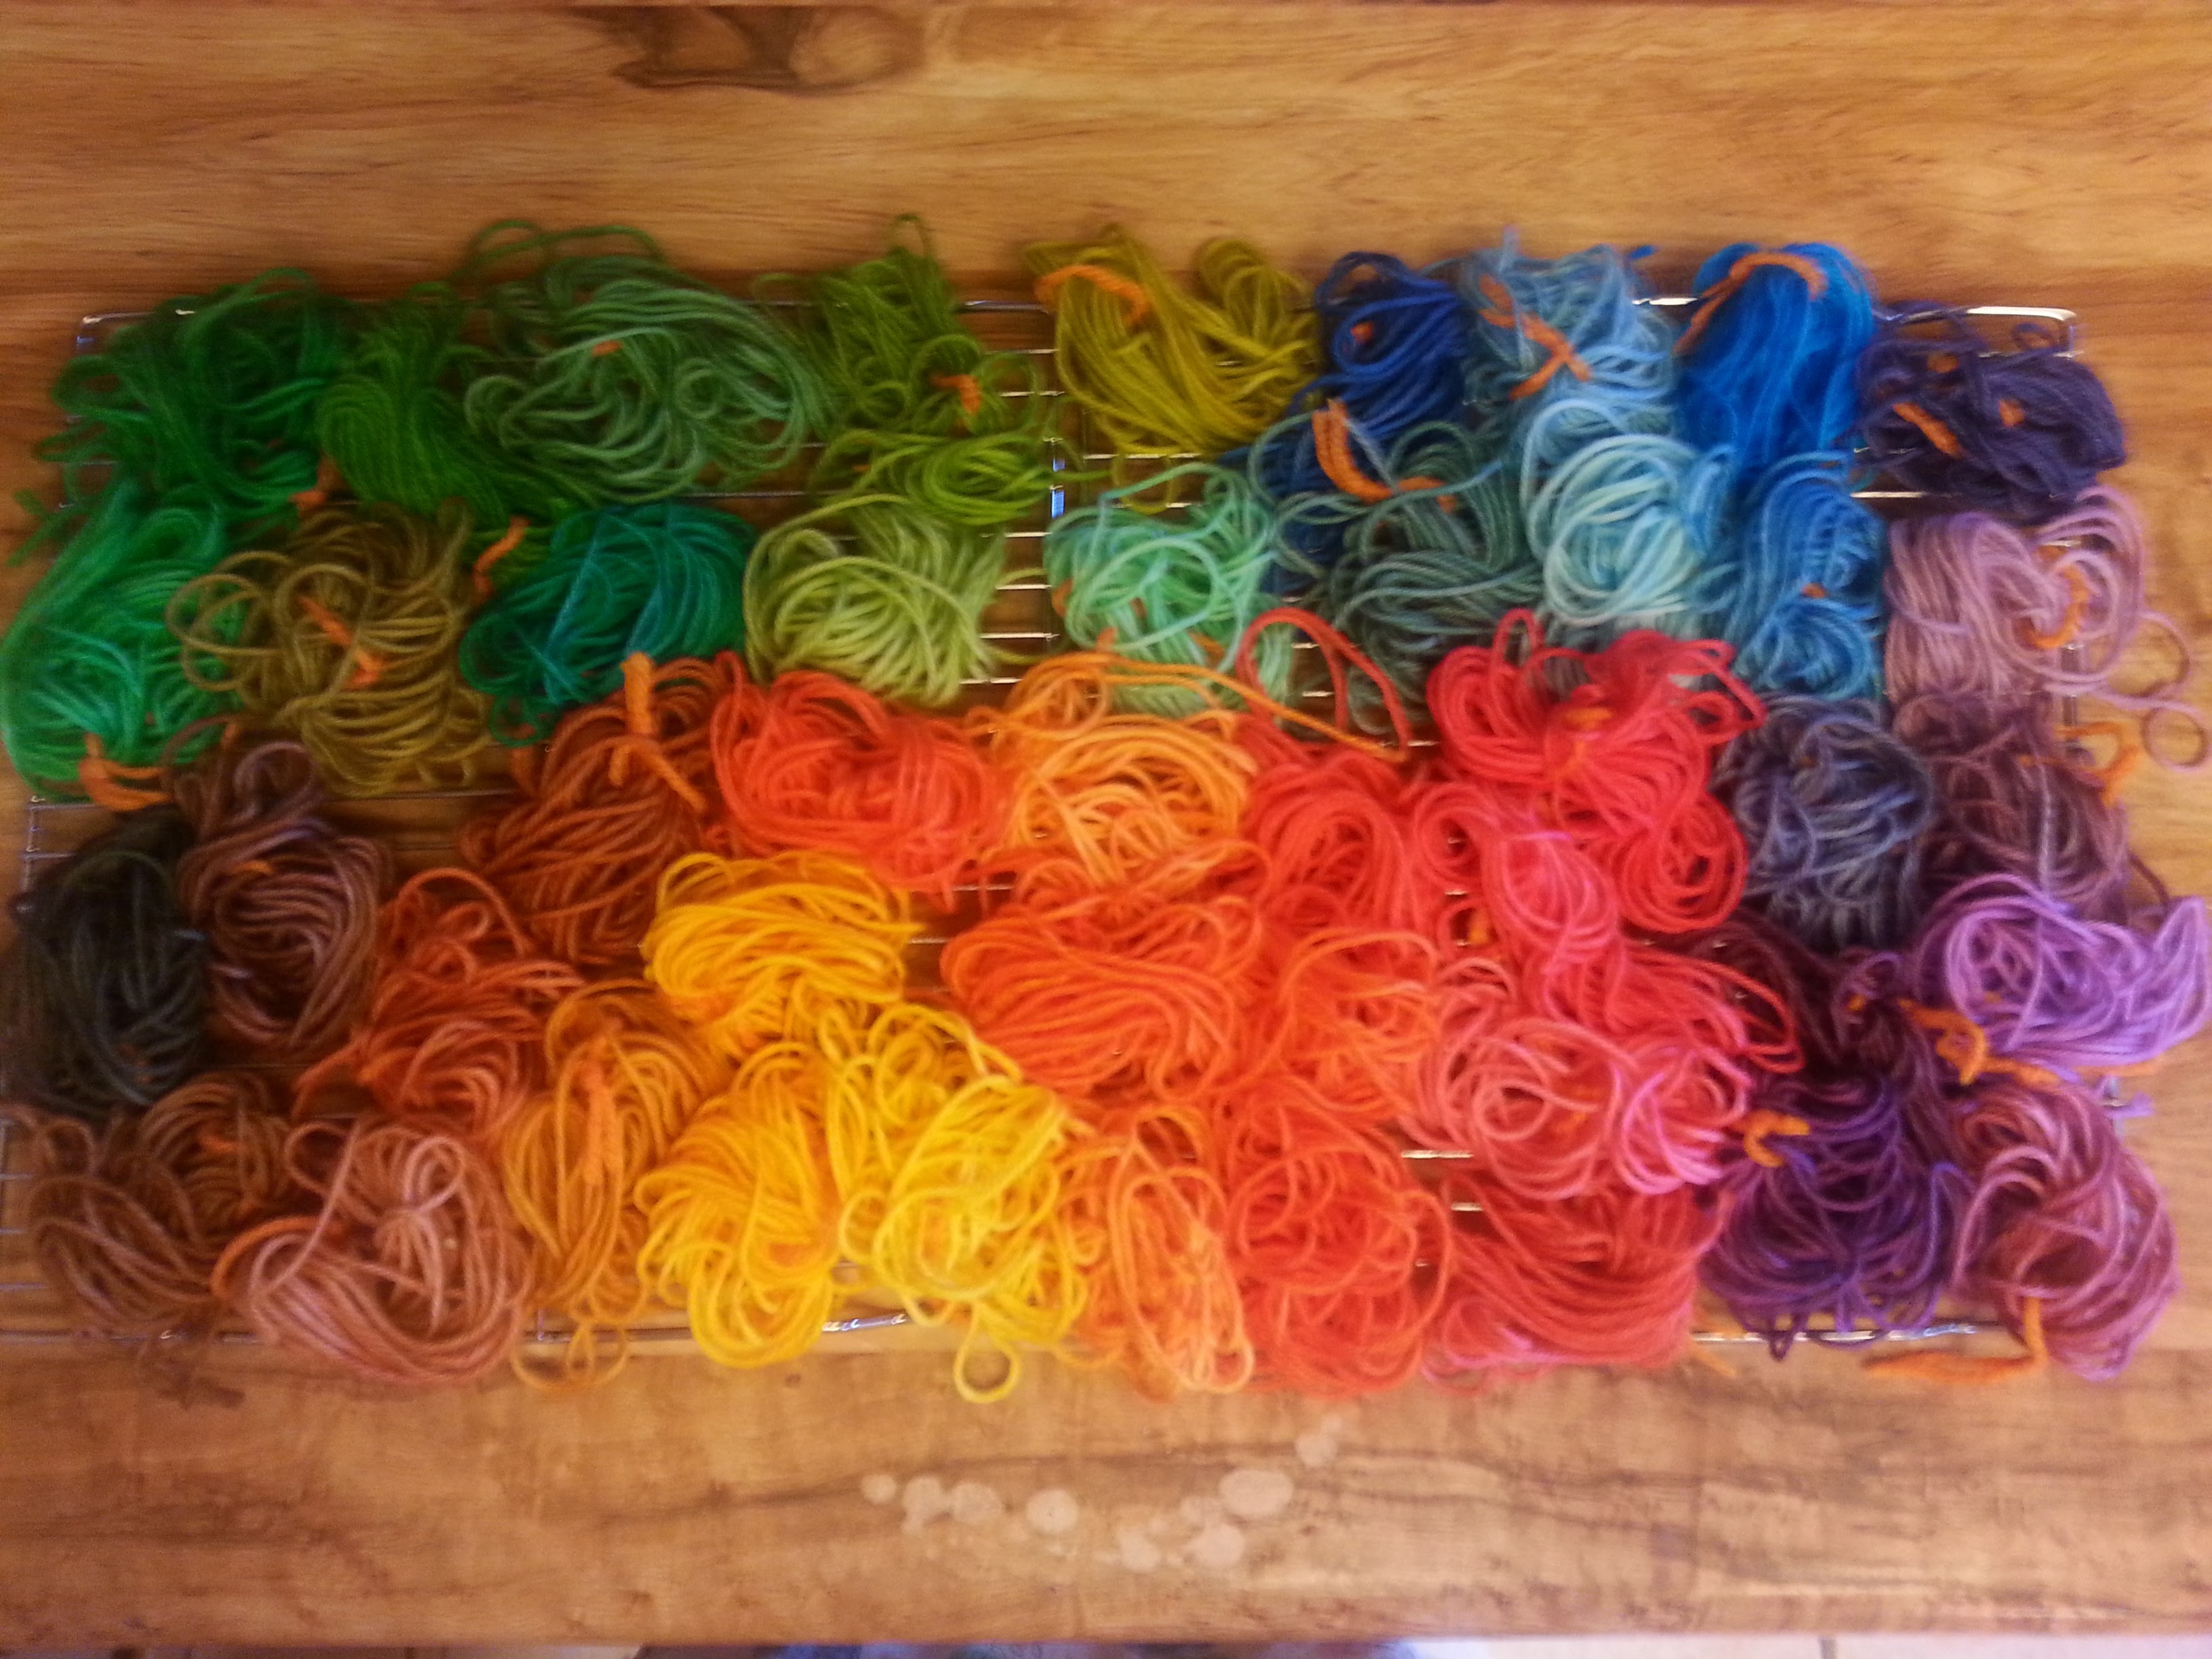
I’ve been a little obsessed with the idea of doing more of my own yarn dyeing and so I’ve been accumulating books and websites that seem useful.  Each resource has it’s pros and cons.  I have yet to find one resource that serves as a manual as good as some of the ones that I have on fabric dyeing from my quilting days.  Here are a few of my favorites so far.

Hand Dyeing Yarn and Fleece by Gail Callahan is a good overall resource.  The author starts out with a good amount of basic theory and descriptions of general procedures and then follows with procedures for a number of different dyeing techniques.

I also have checked out from my library The Yarn Lover’s Guide to Hand Dyeing by Linda LaBelle.  Linda does not have as much basic material in her book, instead it is a series of experiments organized by technique and type of dye used.  In the series of techniques, she shows how to make self striping yarns, short repeats, long repeats, confetti type yarns, etc. but she doesn’t really give you the big picture of how to do the technique for a desired style of yarn, you have to infer it from the directions.

The website Dye Your Yarn has a lot of information about using food coloring, drink mixes, etc. for food safe yarn dyeing.  The site’s techniques are a bit different than some of the ones recommended in the above books, but the photos of the ranges of colors you can get are amazing.

Knitty Magazine has articles on dyeing both plant based fibers (cotton, linen, etc.) and animal fibers (wool, silk, etc.).

Dharma Trading Company has various tutorials, though they tend to be focused more on fabric dyeing than yarn and fiber dyeing.  Here is one on handpainting yarn and you can find others by searching the site.  (Also, don’t miss the 62 or so undyed yarns you can purchase from them!)

Finally, Fiber Artsy and Craftsy has quite a few posts on how to dye using various techniques.  Here’s a page to start with about kettle dyeing yarn.


Wool Dyeing Experiments

Wool Dyeing Experiments

I had a really great time this weekend doing a little wool dyeing experiment with easy to access materials and kitchen equipment.

It turns out that food coloring works well as an acid dye on protein fibers– we experience this ourselves when we stain our hands with food coloring.  With the addition of an acid (white vinegar, in this case), food coloring makes a lightfast and washfast dye for wool yarn.

My experiments started with a ball of white Cascade 200 Superwash, which I wound off into approximately 4 yard hanks.  I soaked them in a solution of 3 parts water to one part vinegar.

20160319_132351

Meanwhile, I mixed solutions of food coloring with water according to the color experiment in the book Hand Dyeing Yarn and Fleece by Gail Callahan.  Basically, I filled eight jars with 2 cups of water each.  I had a box of both McCormicks Basic food colors and a box of McCormicks Neon food colors.  Here were my measurements for the eight jars.

  1. 1 t. yellow
  2. 1/2 t. red
  3. 1/4 t. blue
  4. 1/2 t. green
  5. 1/2 t. neon pink
  6. 1/2 t. neon blue
  7. 1/2 t. neon green
  8. 1/2 t. neon purple

Why the different amounts?  Gail doesn’t really talk about this but I know from dyeing fabric that some colors are stronger than others.  Yellow is the weakest blue the strongest.  The differences in dye amounts is so that one teaspoon of yellow solution can be treated as equal strength to one teaspoon of blue solution.  Equal parts of each will make a nice middling green.  If you mixed the water/dye solutions with equal amounts of food coloring you’d have to use about four parts yellow to one part blue to make a middling green.

20160319_132531

I then used a modified version of Gail’s color wheel experiment (using half the amount of total liquid) to make a 12 step color wheel in the basic colors and again in the neon colors.  The process was to put about 6 teaspoons total of the food coloring/water solutions into each jar and then squeeze out a yarn hank from my bucket and drop one into each jar.  I’d stir it around a bit with a chopstick, but I accepted the idea that the the yarn would be a little variegated.

20160319_132421

I let the yarn sit in the solution for about 30 minutes, then I microwaved the jars, four at a time, for 1 minute and then again for another 30 seconds or so until the water in the jar was clear and all the dye was absorbed.  I pulled the hanks out and let them cool on a wire rack so I could use the jars for the next set of experiments.

20160319_132556

After the color wheels, I experimented with tints and shades.  I made tints by using mostly plain water and just a little dye solution and I made shades by adding 1/2 to 1 teaspoon of the opposite color on the color wheel to each of the colors from a six step color wheel.  I also made a full strength sample and a tint of the secondary colors I hadn’t used in my color wheel and I experimented with making some browns with two or three colors mixed.

In the end I had about 45 little hanks of yarn.

yarn

I could have kept going and played with more variations on tints and shades and experimenting with how saturated color I could get by adding more and more dye, but I ran out of yarn hanks and didn’t have more white yarn to wind up!

After everything was dry, I wound the little skeins onto clothes pins to make a tin of “yarn pegs” inspired by this post from Attic 24.  Now I can play with my own little tin of colors!

yarnpegs

The best part about dyeing with food coloring?  I could do it in my kitchen with minimal expense and worry.  I got to play with color and make something beautiful!


Yes, and…

Yes, and…

When performing improvisationally, there is a “yes and” rule that says that you accept the contributions of other in the improv and that you always add your own bit as well.  Although I sometimes believe I am the boss of my designing and in total control, other days I have to admit that the design is ultimately an improvisation between myself, the yarn, and the pattern.  The pattern or the yarn try to tell me something and I need to say, “Yes, and….”

Last week I wrote about my current design and how it wasn’t working out.  This week the old yarn is rapidly being made into a sweater (LivedIn by Alicia Plummer).  I think it is happier in its life now that it is being held double and knit on size 10.5 needles.

IMG_20160228_171020 - Edited

I swatched a new yarn, with a new stripe pattern.  Of my possible solutions last week, I implemented two of them: larger yarn (DK weight vs. fingering) and a new stripe pattern using some other stripe designs from my swatches back in November.  Now I have a very easy to memorize four row repeat for the main body of the shawl cardigan with less stitches overall and although there is still an eight row repeat in the border, it is also pretty easy to remember once you’ve done it a few times.

stripe2

At my knitting group, they asked why I wasn’t just holding the old yarn double with the new stripe pattern.  Although it’s working out great held double for a sweater that’s virtually all stockinette, I wouldn’t want to deal with the chainette yarn held double with a lot of stitch manipulation because it’s a bit splitty.

Introducing my Patterns in kCDesigns

Introducing my Patterns in kCDesigns

If you have an iPad (or soon an Android tablet), you should know about Knit Companion.  This is a handy app that allows you to manipulate pdf knitwear patterns so that you can easily knit from the pattern, complete with row counters, magic markers that allow you to keep track of certain special stitches, and even combining charts so you don’t have to flip between pages.  Although knitters can set up a PDF pattern themselves in Knit Companion, many patterns are available that already have the set up work done for you in the kCDesigns shop!

I’m excited to announce that my patterns are now available in kCDesigns!

Screenshot 2016-03-03 at 11.46.42 AM - Edited