First Adventures with a Hand Crank Circular Sock Machine
As a combination Christmas/birthday present last week, my dear mother in law gave me an Erlbacher Gearhart Circular Sock Machine. My machine is a Speedster, named so because it has a 1:1 gear ratio– one turn of the handle equals one turn of the carriage.
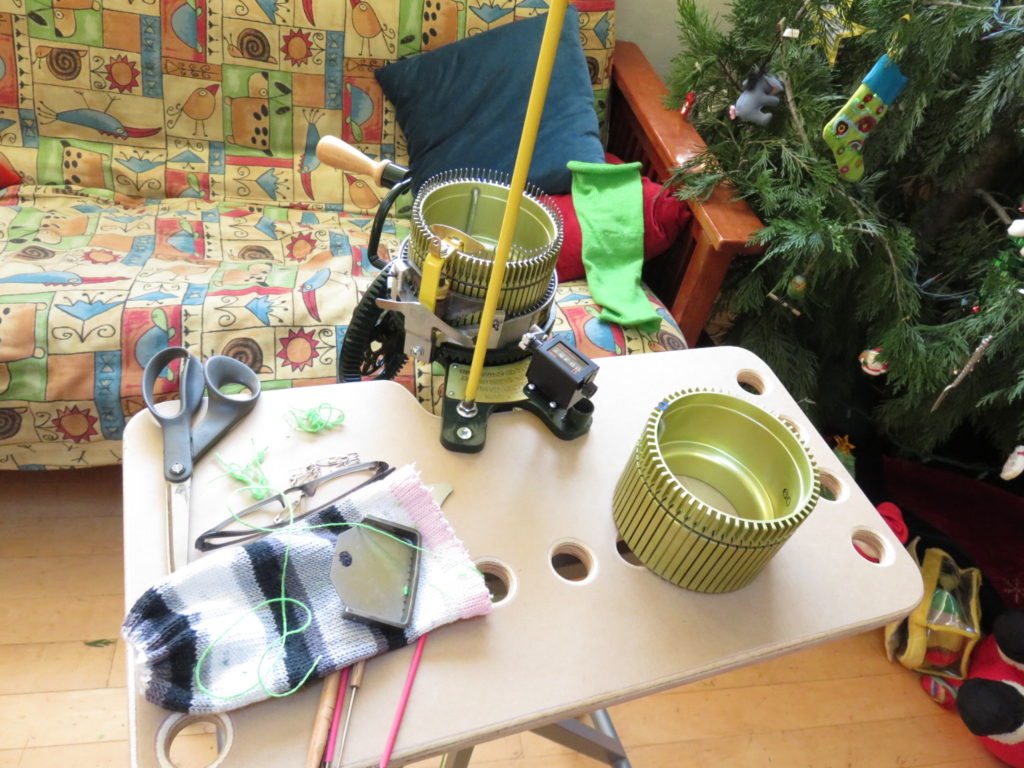
I started my adventures setting up the machine and doing lots of tubes and sample heels.
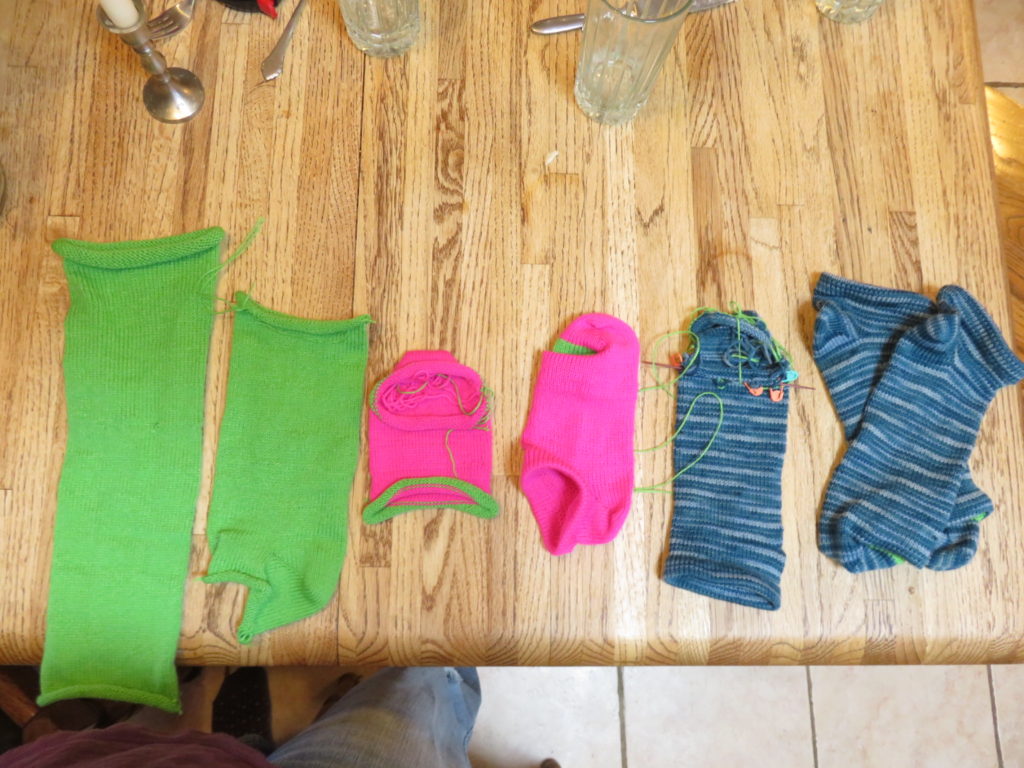
After I got comfortable with cranking out tubes and making heels and toes, I tried my first pair of socks. I picked the simplest pattern possible– a 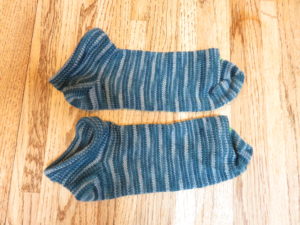 shortie sock with no ribbing. I used the socklet recipe given by Jocelyn in her fiberdev blog. I used this video to learn how to make the hung hem and I used the manual that came with my machine and this video to make a quick and easy heel. This video is a demonstration of this type of sock and it was really useful to watch although not meant as an instructional video. Finally, this video helped me to Kitchener stitch the toes.
You can see more details for this sock on my Ravelry page. These socks are loose around the ankles but comfortable in the foot. I made them a little too long for my foot.
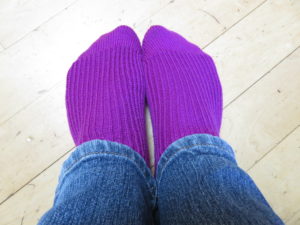 Next, I decided to make friends with my ribber. For the most part, I used this video by Jenny Deters and followed it step by step. I also watched the Erlbacher Gearhart videos specifically about using my ribber to get started. I dropped a couple of stitches for a couple of rounds on one sock and didn’t notice till they had already repaired themselves, so I caught them with a safety pin and made a repair after the sock was off the machine.
This sock has ribbing on the top of the foot but is stockinette on the sole and it’s fully ribbed around the leg. It fits really well and is surprisingly comfortable in a shoe. I made these just a tad short. You can see more details on my Ravelry project page.
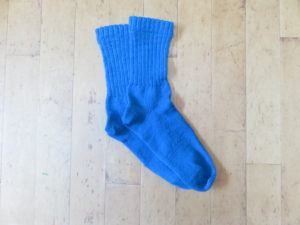
My third pair of socks allowed me to try the final techniques I was interested in learning right away– toe up socks and mock rib stitch. I used this video and this video to make the toe and then used the heel I’ve been using for the other projects. I used this video to make the mock rib and this video to finish the hem.
These socks fit well in the foot (I finally found my magic number for rounds in the foot) and the mock rib held the socks up surprisingly well. You can see my recipe for this sock on my Ravelry project page.
Learning to use a circular sock machine requires some detective work. The manual that came with the machine has lots of the basics, but some things are better explained in the company’s videos and in videos by other “crankers”. I found some great support in the Erlbacher Gearhart Ravelry Group, which is quite active, and also in the Circular Sock Machine Knitters 2.0 Facebook group. I also started a Google Doc where I’ve been collecting names of methods with informational links as well hints and tips that seem useful. There are a few things that I’ve read about but haven’t found a good explanation for yet. You can see that document in view only format here— I’ll be adding to it and reorganizing it as I continue to learn.
One thought on “First Adventures with a Hand Crank Circular Sock Machine”
Hi I’m Jan(Rav flossr) and love your document you created for the CSM. I have just purchased a speedster but have been cranking on antique machines for 5 years. I have 3 Old Gearharts and 1 Canadian Autoknitter. Yes myself and my hubby are obsessed with these machines. And I love making socks. I am going to go thru your document later and enjoy what you have put together. Hope to meet you at a crank in. Thanks
Jan
Comments are closed.