Browsed by
Category: Uncategorized

Introducing Kerti

Introducing Kerti

kerti_11 copy

I’m very excited to announce the release of my newest shawl design, the Kerti Shawl.  It was published this week in an exclusive collection by Knitpicks called Joyful Lace.  You can find the collection on the Knitpicks website and on Ravelry.

kerti_10 copyKerti is a feminine lace shawl featuring center panel with a latticework design.  The shawl is worked from the bottom up using a long, stretchy cast on.  The bottom border of points is created using a series of charted short rows for each point.  The body of the shawl is worked from charts in pairs of two, one for the side panels and another for the center panel. A garter stitch edge is knitted on to the top of the center panel.   Elongated bobble stitches called nupps add visual interest and texture.  The nupps could be replaces with beads or omitted if desired.

I really enjoyed working with Knitpicks on this publication and am proud to be part of such a beautiful collection!


What I Do With Swatches

What I Do With Swatches

When you start to design, you end up with lots of swatches.  The only way to really answer the question, “What will this pattern look like in this yarn?” is to swatch.  And the only way to make a good guess at how many stitches and rows you need to get to the size garment you want is to swatch some more and measure and count stitches and do the math.

Well, then you end up with a lot of swatches.  Some that worked, some that didn’t, some that look great but not in the project for which they were intended.

20160430_102958

I keep my swatches in binders with the notes I used to make them together in sheet protectors.  I also file away rough drafts of patterns, graph paper filled with full sized layouts of shawls, and failed ideas.

Since I design only four or five patterns a year, I’ve only got about three of these binders filled right now.  I mostly work in fingering and lace weight yarns so the swatches aren’t very thick.  And I’ve found them useful as a reference and inspiration for new ideas.

Knitting for Roxanne

Knitting for Roxanne

20160514_173641

In April I learned that the midwife who was with me for the home births of all three of my children had passed away after battling cancer.  She was a well known figure in our community and had not announced her illness– I think so she didn’t have to answer questions everywhere she went.  Roxanne was an amazing person who supported and empowered women with a seemingly inexhaustible strength.  When I read the news, I wept, even though I was on a shuttle bus to the airport among strangers.

In the last month, I’ve been trying to come to grips with the idea that I wouldn’t see her again in the community, that she would never again remember my oldest son as her best child midwife at the birth of a younger sibling.  A home birth is an intimate thing.  It’s you, your partner, the midwife, and perhaps an assistant.  Roxanne was a part of the fabric of my history of creating a family.

So I designed a shawl for her that I have been knitting.  Each stitch pattern and its arrangement has a meaning for me and is a way to work my way through my grief.  I brought it with me to Roxanne’s memorial and even though I didn’t work on it there, it sat at my feet and I mentally wove the stories of her life with the stitches.  It’s a celebration, not a lament.  The color is bright and full of life and hope– the same things that Roxanne brought to me and left with me.

Stitch Dictionaries

Stitch Dictionaries

20160430_102555

Last week, I participated in the Initiate Knit Design challenged hosted by Aroha Knits.  One question that came up on the Facebook group associated with the challenge was about stitch dictionaries.  I have about two linear shelf feet of stitch dictionaries at this point and I love having so many different ones to choose from.  Above, you can see the ones I used for my current design.  I ended up using elements from four out of the five for my current design.

There are books that are meant to be only stitch dictionaries, with no patterns included, and those are what I have the most of.  Some of my favorites include:

  • Barbara Walker’s Stitch Treasuries– I have three of the four volumes.
  • The Harmony Guides– I have all of these, including the crochet ones.
  • Vogue Stitch Dictionaries– I have a couple of these and a little five volume set of small guides.
  • Japanese Stitch Dictionaries– the lace one pictured above with 300 in the title is one I’ve used many times.  All the patterns are charted and it’s easy to see what you are getting.
  • Nicky Epstein’s edging series– Knitting on the Edge, Knitting over the Edge, etc.

I also have a number of one volume stitch dictionaries, I tend to go for ones that have charted patterns these days.  These include German and Estonian books, some of which are still in the native language.

But there are also books like The Magic of Shetland Lace Knitting that are about shawl design and happen to have a stitch dictionary included or books that contain so many charted patterns that I can isolate and modify elements from the charts, essentially treating them like stitch dictionaries.

I’ve also found that although there is a lot of overlap between books, sometimes a pattern or a variation will appeal to me in one book even though I passed it over in another because of the yarn choice or variations in the stitch count that make the sample jump out at me.

So if you are designing, I suggest buying as many stitch dictionaries as you can.  I keep sticky note markers on the front pages of them all so I can mark interesting ideas as I go.  I’ve found them all to be worthwhile investments!

Participating in the Initiate Knit Design Challenge

Participating in the Initiate Knit Design Challenge

Last week I participated in the Initiate Knit Design challenge hosted by Francoise Danoy of Aroha Knits.  Frenchie not only designs but she also teaches and she hosted the five day challenge to launch her course “Manifest Your Inner Designer.”  Although I’ve been designing for over two years now, I’m always eager to learn more and participating in the challenge encouraged me to complete a shawl design that’s been knocking around in my head this month.

Day 1 was creating a mood board.  I don’t usually do this formally, though for this project I had a specific theme in mind.  My midwife, who was with me for the birth of all three of my children, passed away this month and I wanted to honor her with a shawl design.

collage

My mood board was about images that represented birth, growth, and passage.

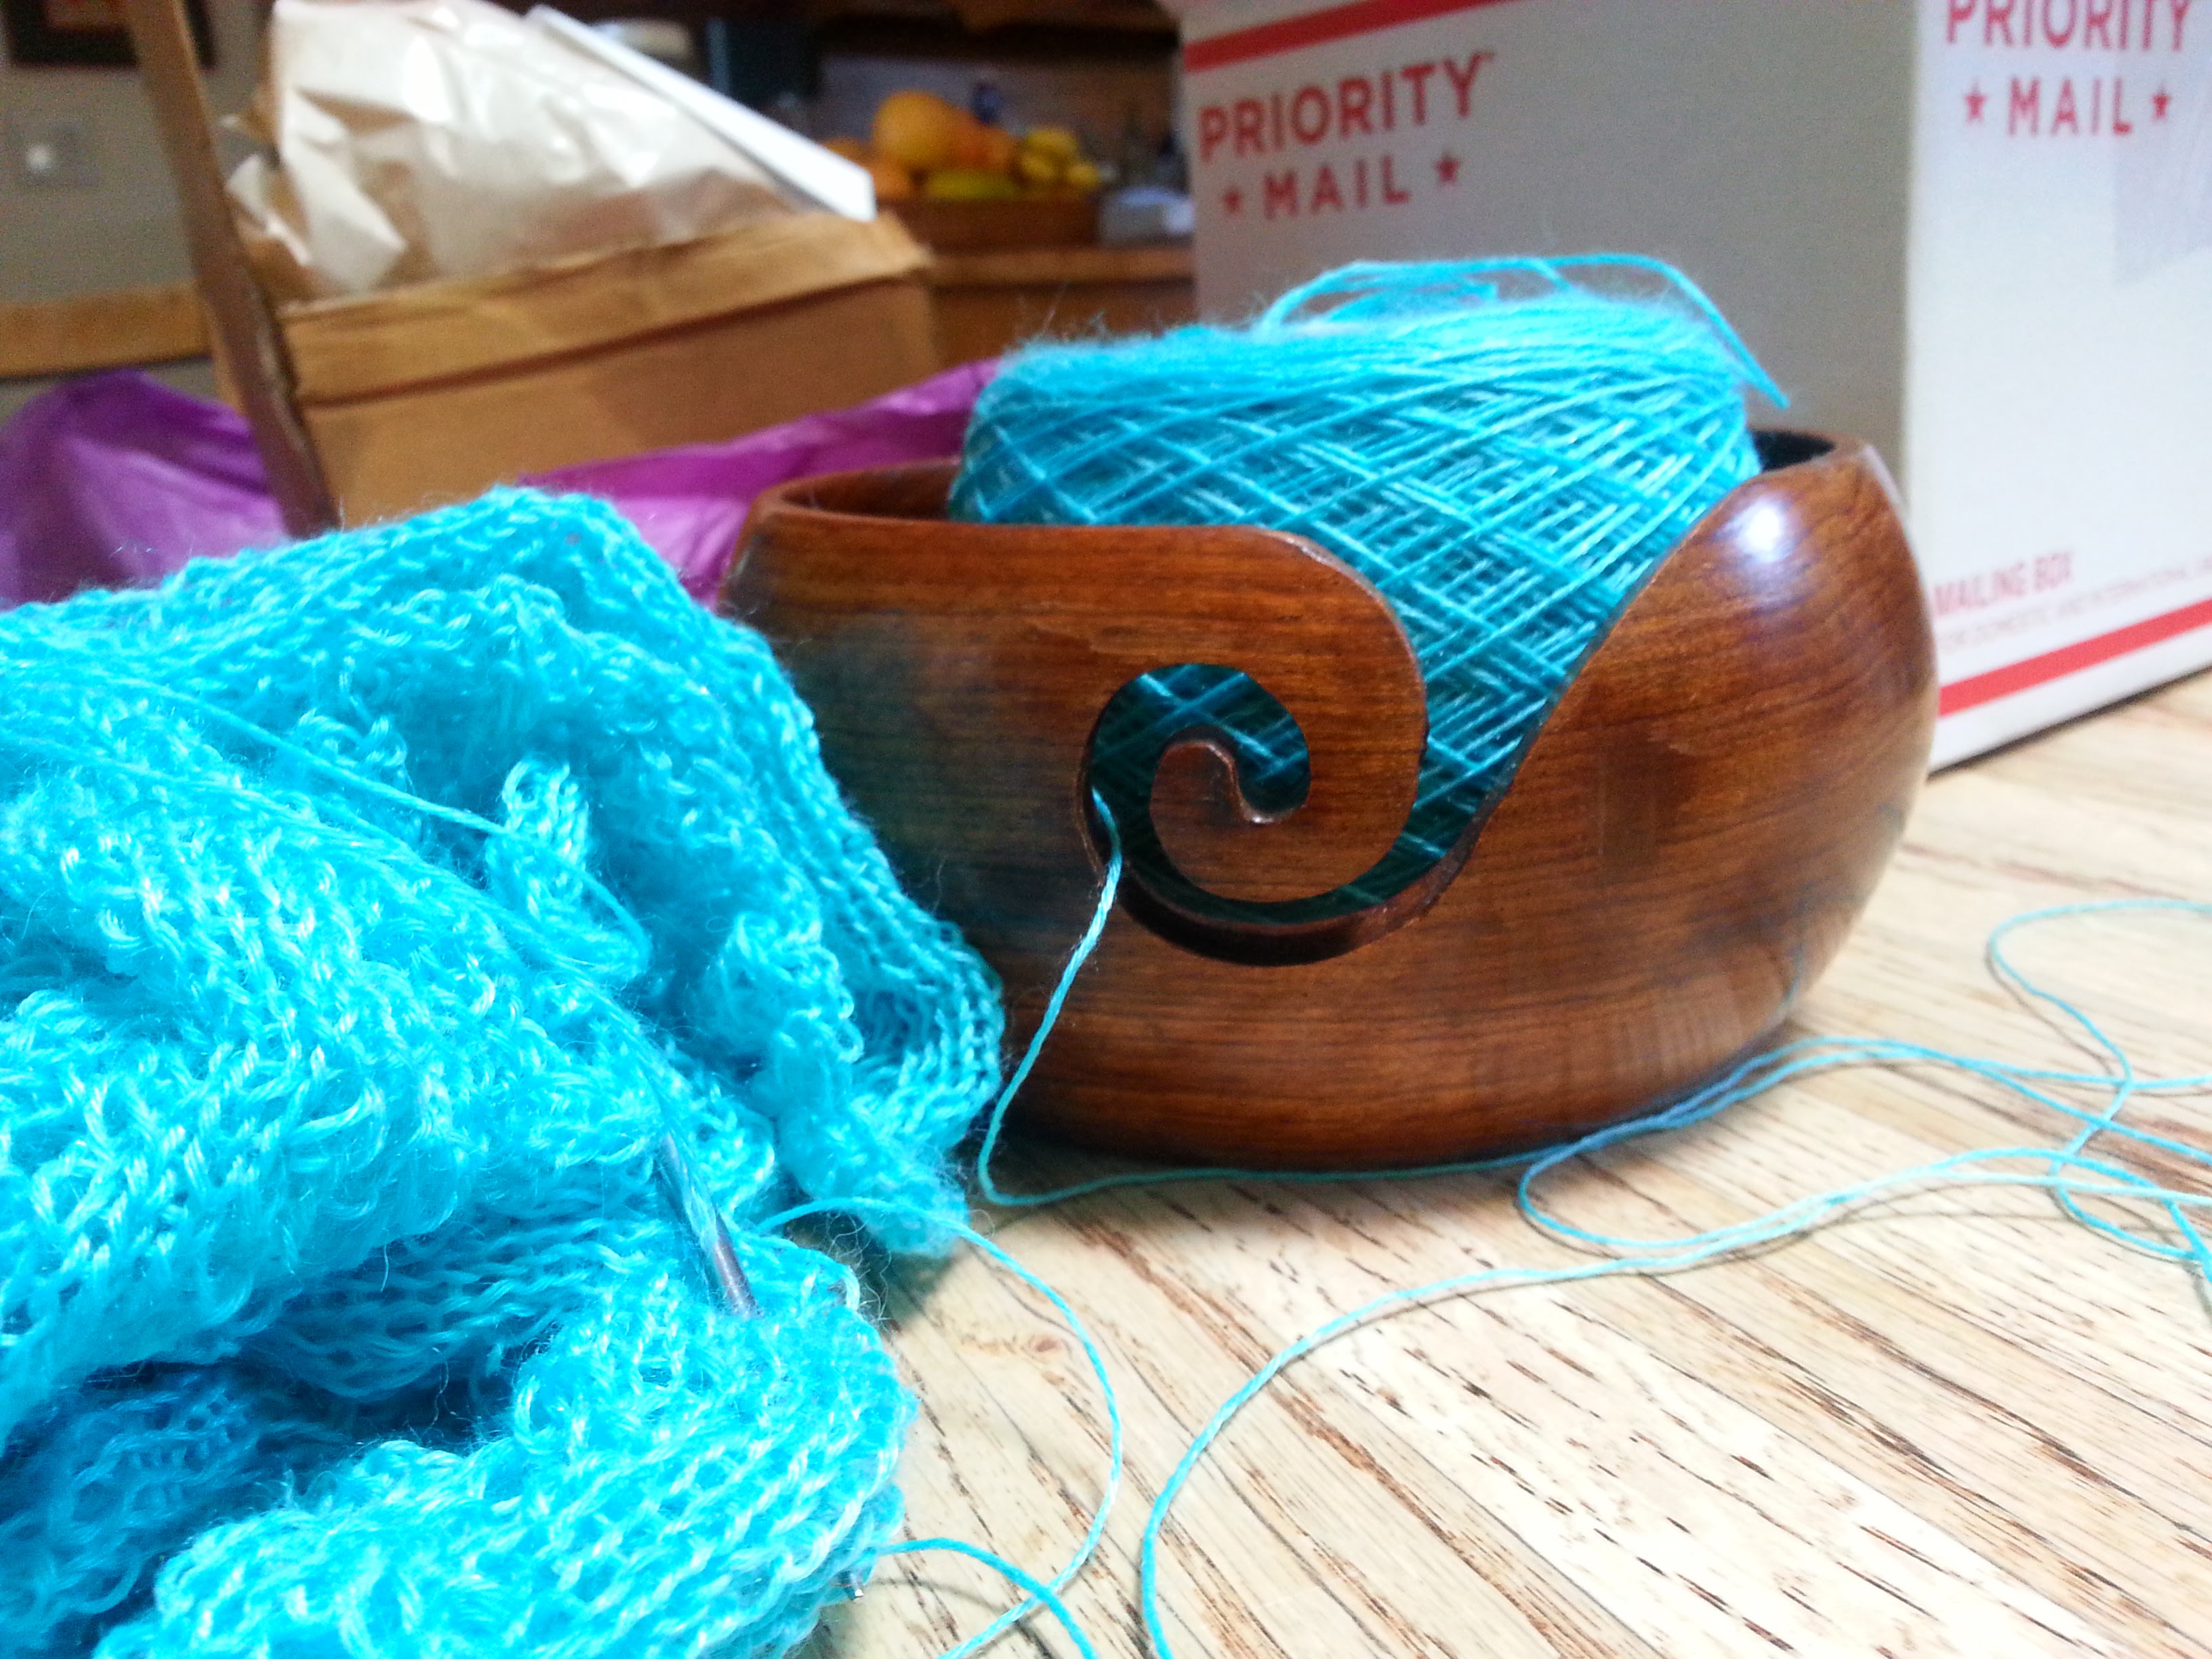
I don’t usually create mood boards in my own design process, so this was a stretch for me.  Often I will start with a yarn, a stitch pattern, or sometimes a garment shape, combined with a general mood or feeling I’m trying to evoke.  I cheated a bit, because when I started the challenge, I already had a yarn in mind, one stitch pattern I wanted to use, and a tentative plan for a shape.  So my images were picked with those things already in mind.

Day 2 was drawing a sketch and Day 3 was picking and swatching stitch patterns.  day 2I will often sketch to rough out different textures within a shape, but only after I have swatched a number of potential patterns.  So on Day 2, I did make a sketch, but only after looking at a lot of stitch dictionaries.

20160427_170318
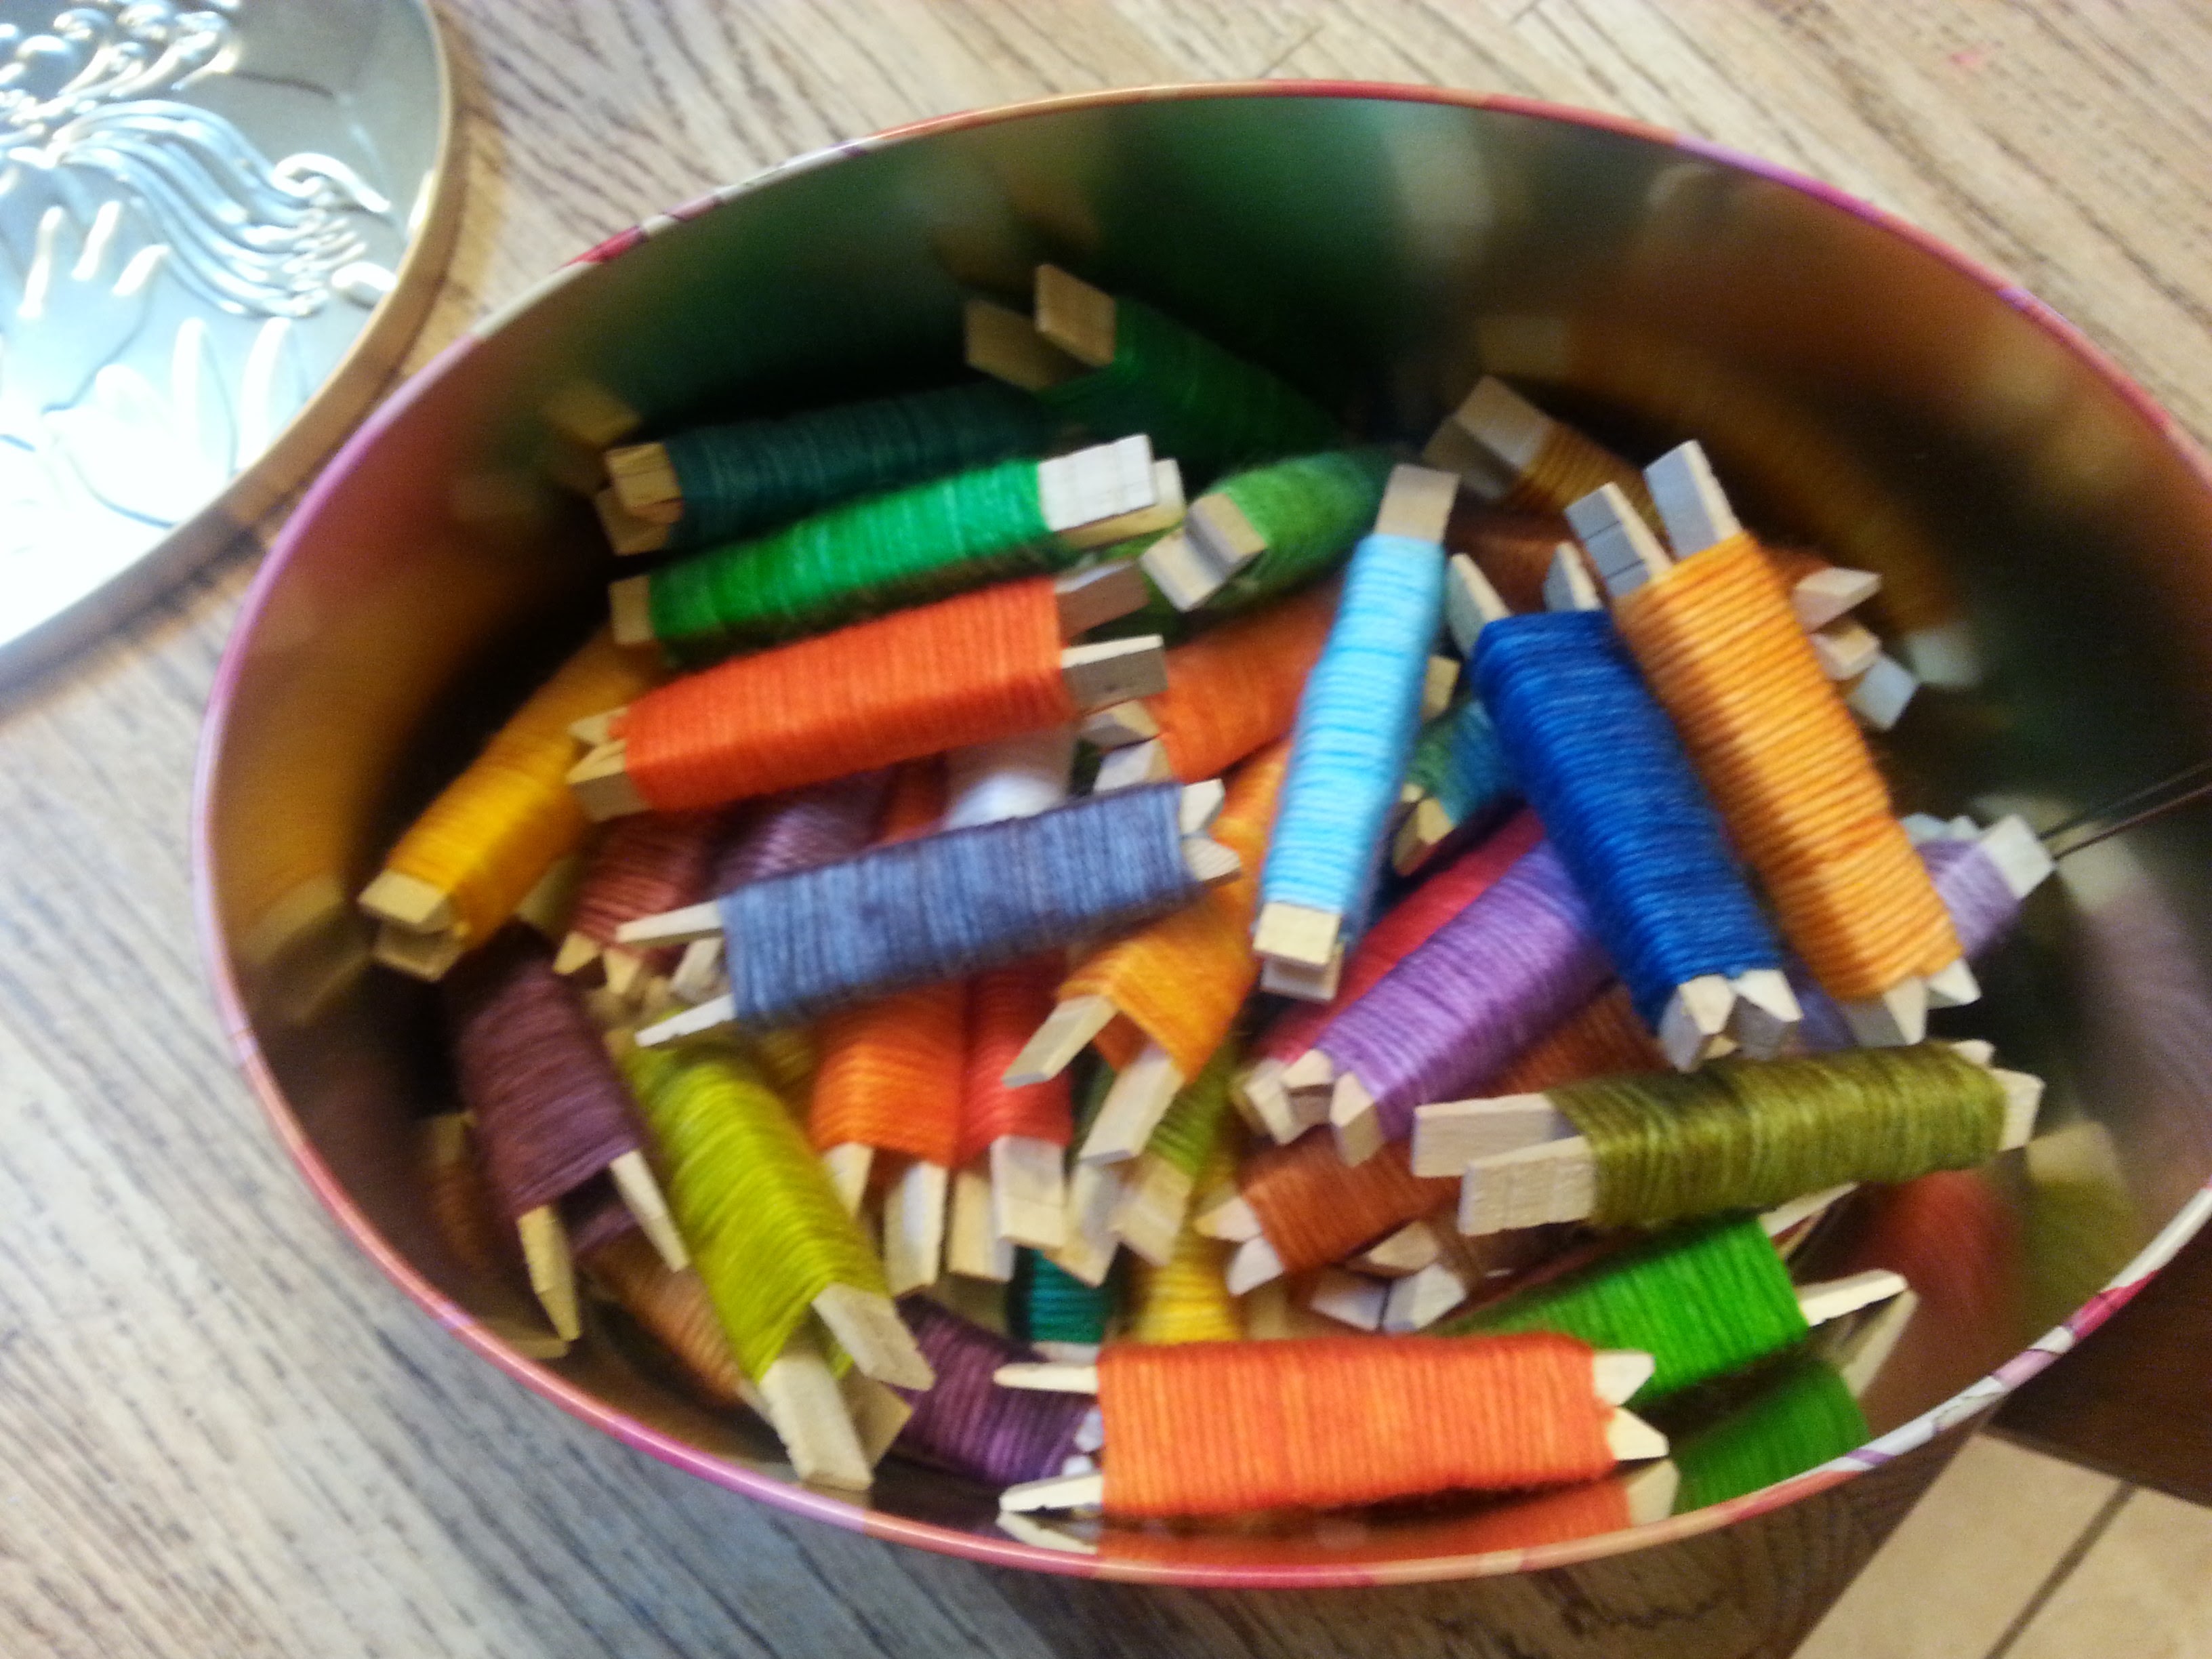
Day 3 wasn’t really enough for swatching for me.  This is the place where I tend to spend a lot of time and my swatching went on through the next two days as well.  I tried out several patterns in isolation and then I started combining things.  For this challenge, I ripped out swatches as soon as I knew they weren’t looking right for my pattern, but I often keep on with a swatch till it’s finished and store those in binders for future reference.  To the left are some of the stitch patterns I tried and below you can see a larger swatch with the patterns combined and a border I added on to test it.  Even this doesn’t represent my final pattern because I decided to eliminate the two yarnover columns on the outside edges of the shawl.

20160429_171743

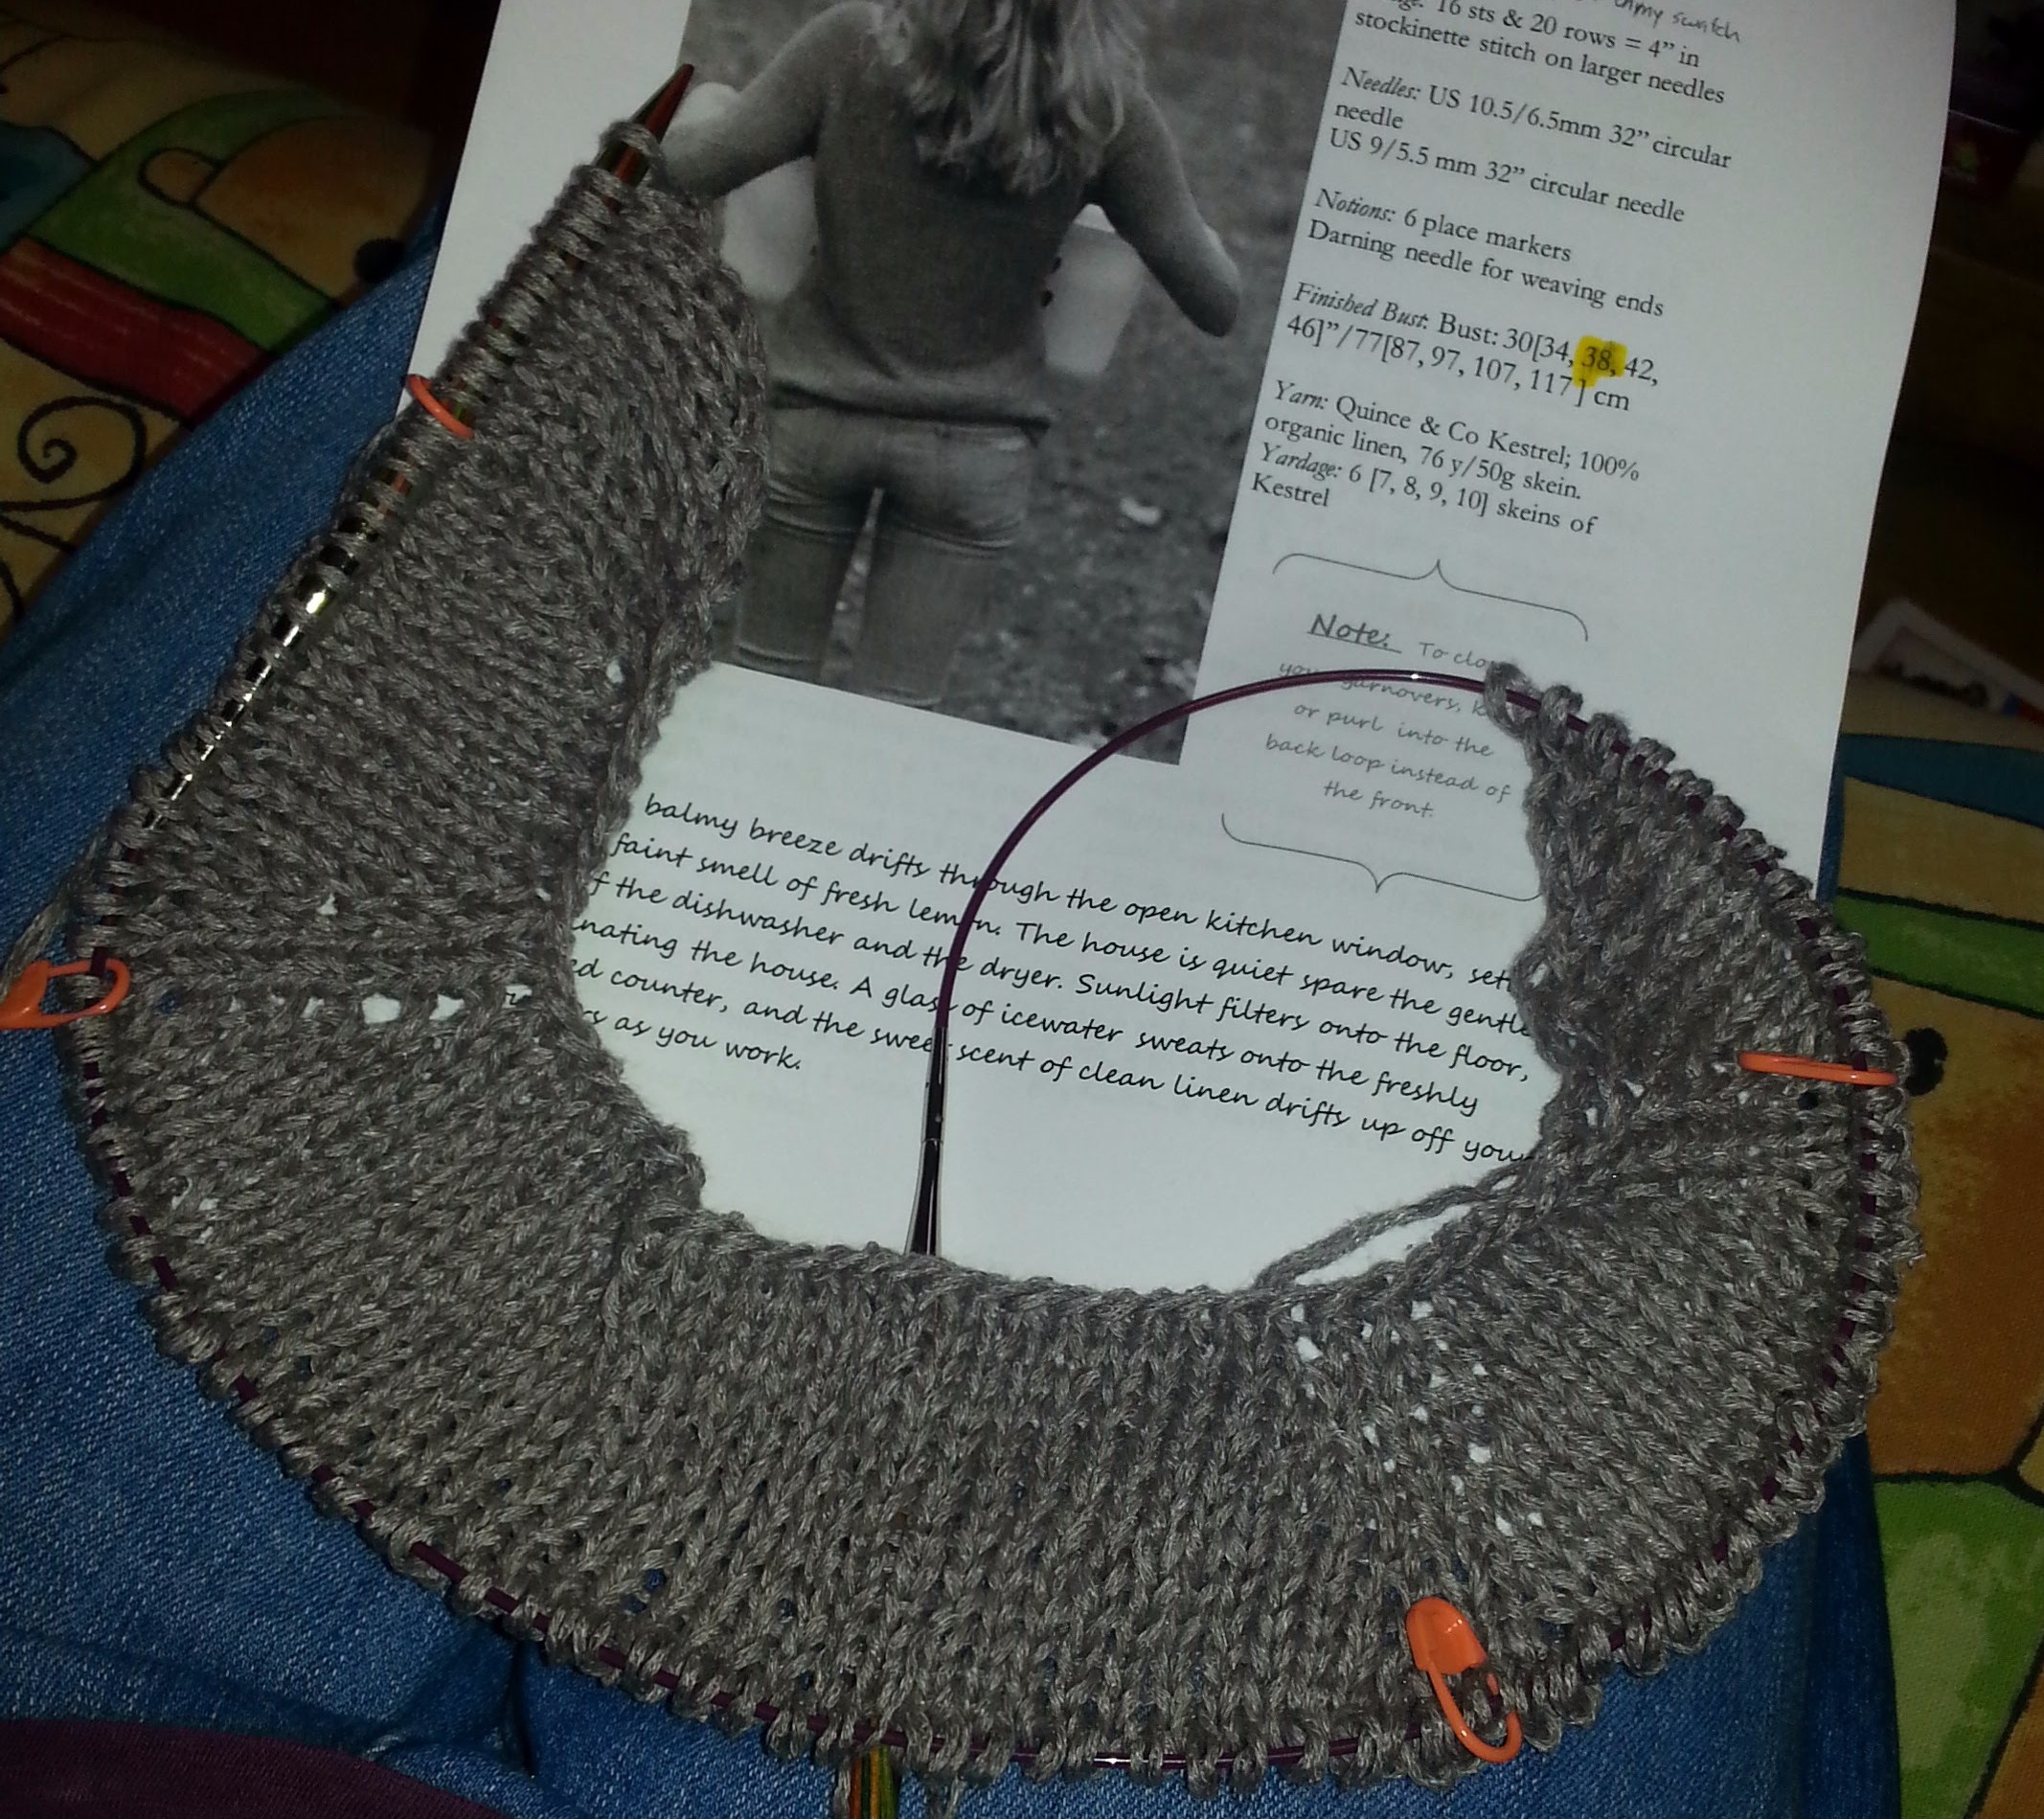
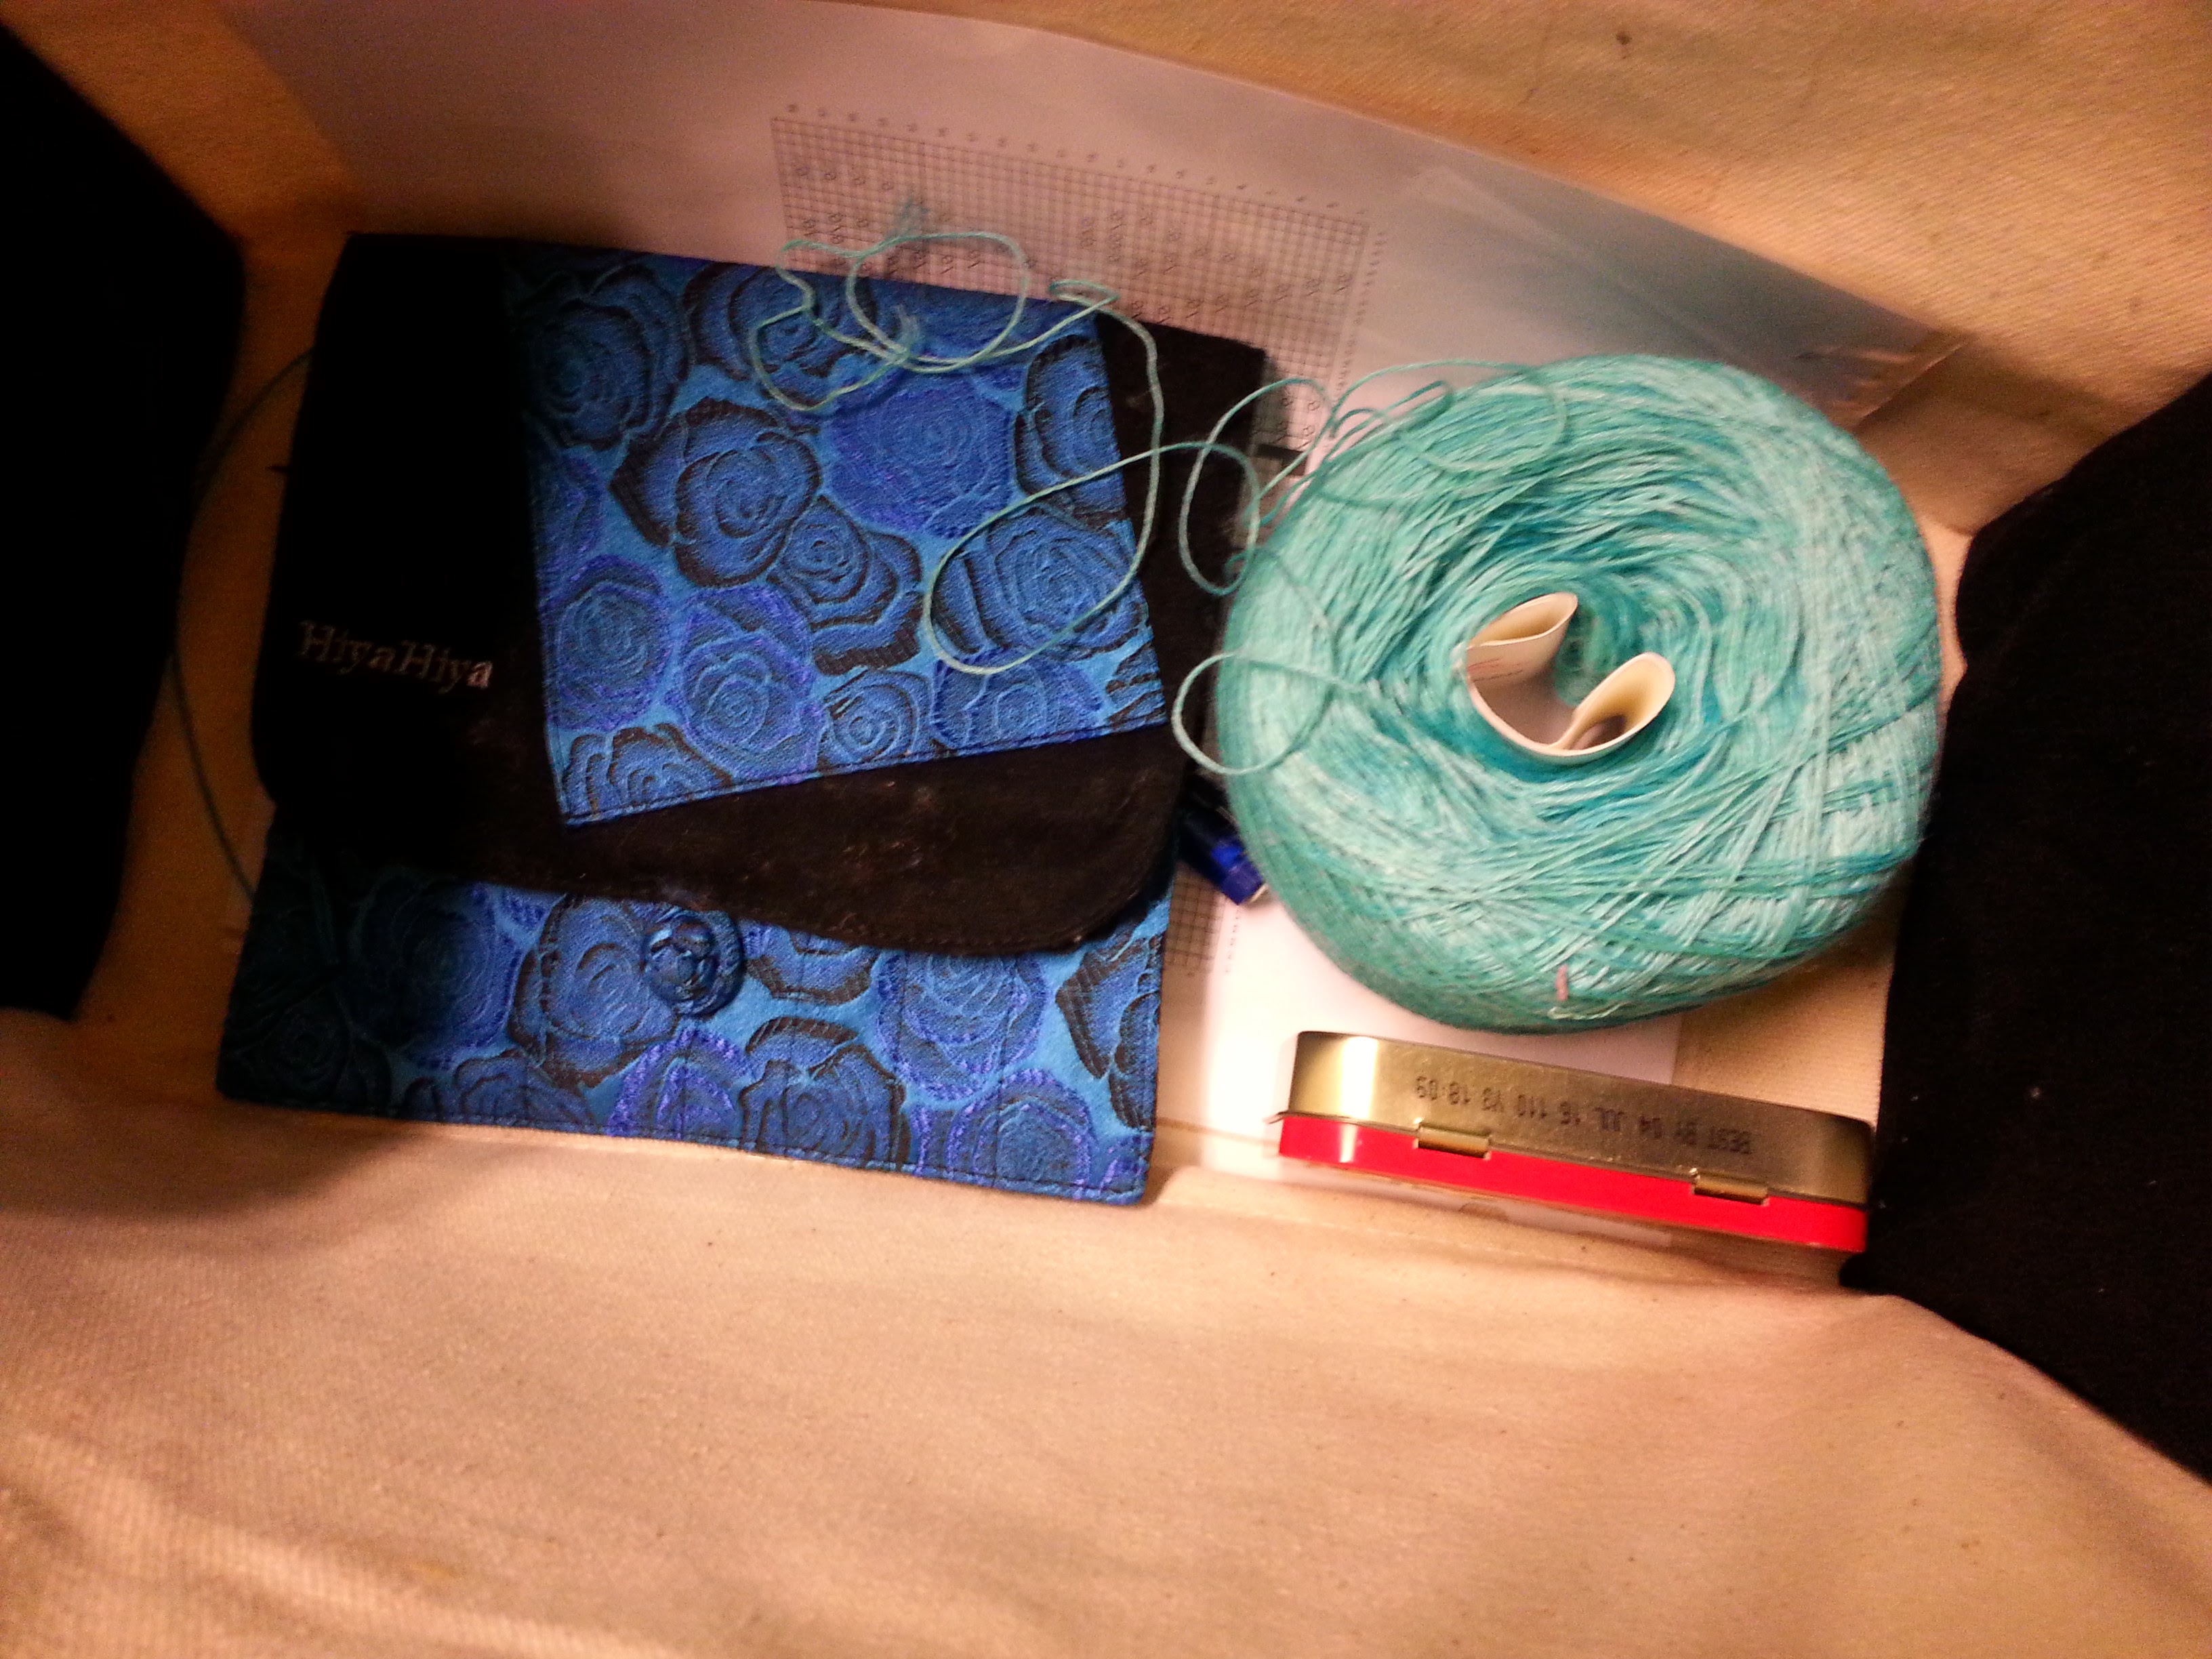
In Day 4 we were asked to make calculations.  I eventually filled this whole page with IMG_20160428_204604calculations because in addition to size and number of repeats,  I had the added restriction in this design of only one skein of the yarn I wanted to use.  So I moved back and forth between my kitchen gram scale and paper, weighing my swatch, calculating the repeats, then adding the border and calculating that.  Finally, I double checked my work by using the weight of the swatch and my estimated size and making sure that they made sense.

The final part for Day 5 was to write the pattern or start knitting and write as you go.  I like to write a page of what I call “basic directions” to start.  I write out all the basic information about how I plan to make the garment so that I can follow my own directions and see if I missed anything.  I don’t format it to fit my template, and I will often pencil in details or useful notes as I work.  My design ended up being three columns wide with a generous border so the final rectangular shawl will be about 19″ by 63″

I decided to set aside the design I’m currently making the sample for in order to work on this.  My current design is a fall garment and this one is a great spring and summer design, so I think that makes sense.

Overall, it was very inspiring to see so many other people participating in the challenge and look at the other designs as they progressed over the week.  Frenchie offered daily encouragement and I think her class would be very informative for new designers.

And now I’m off to knit!
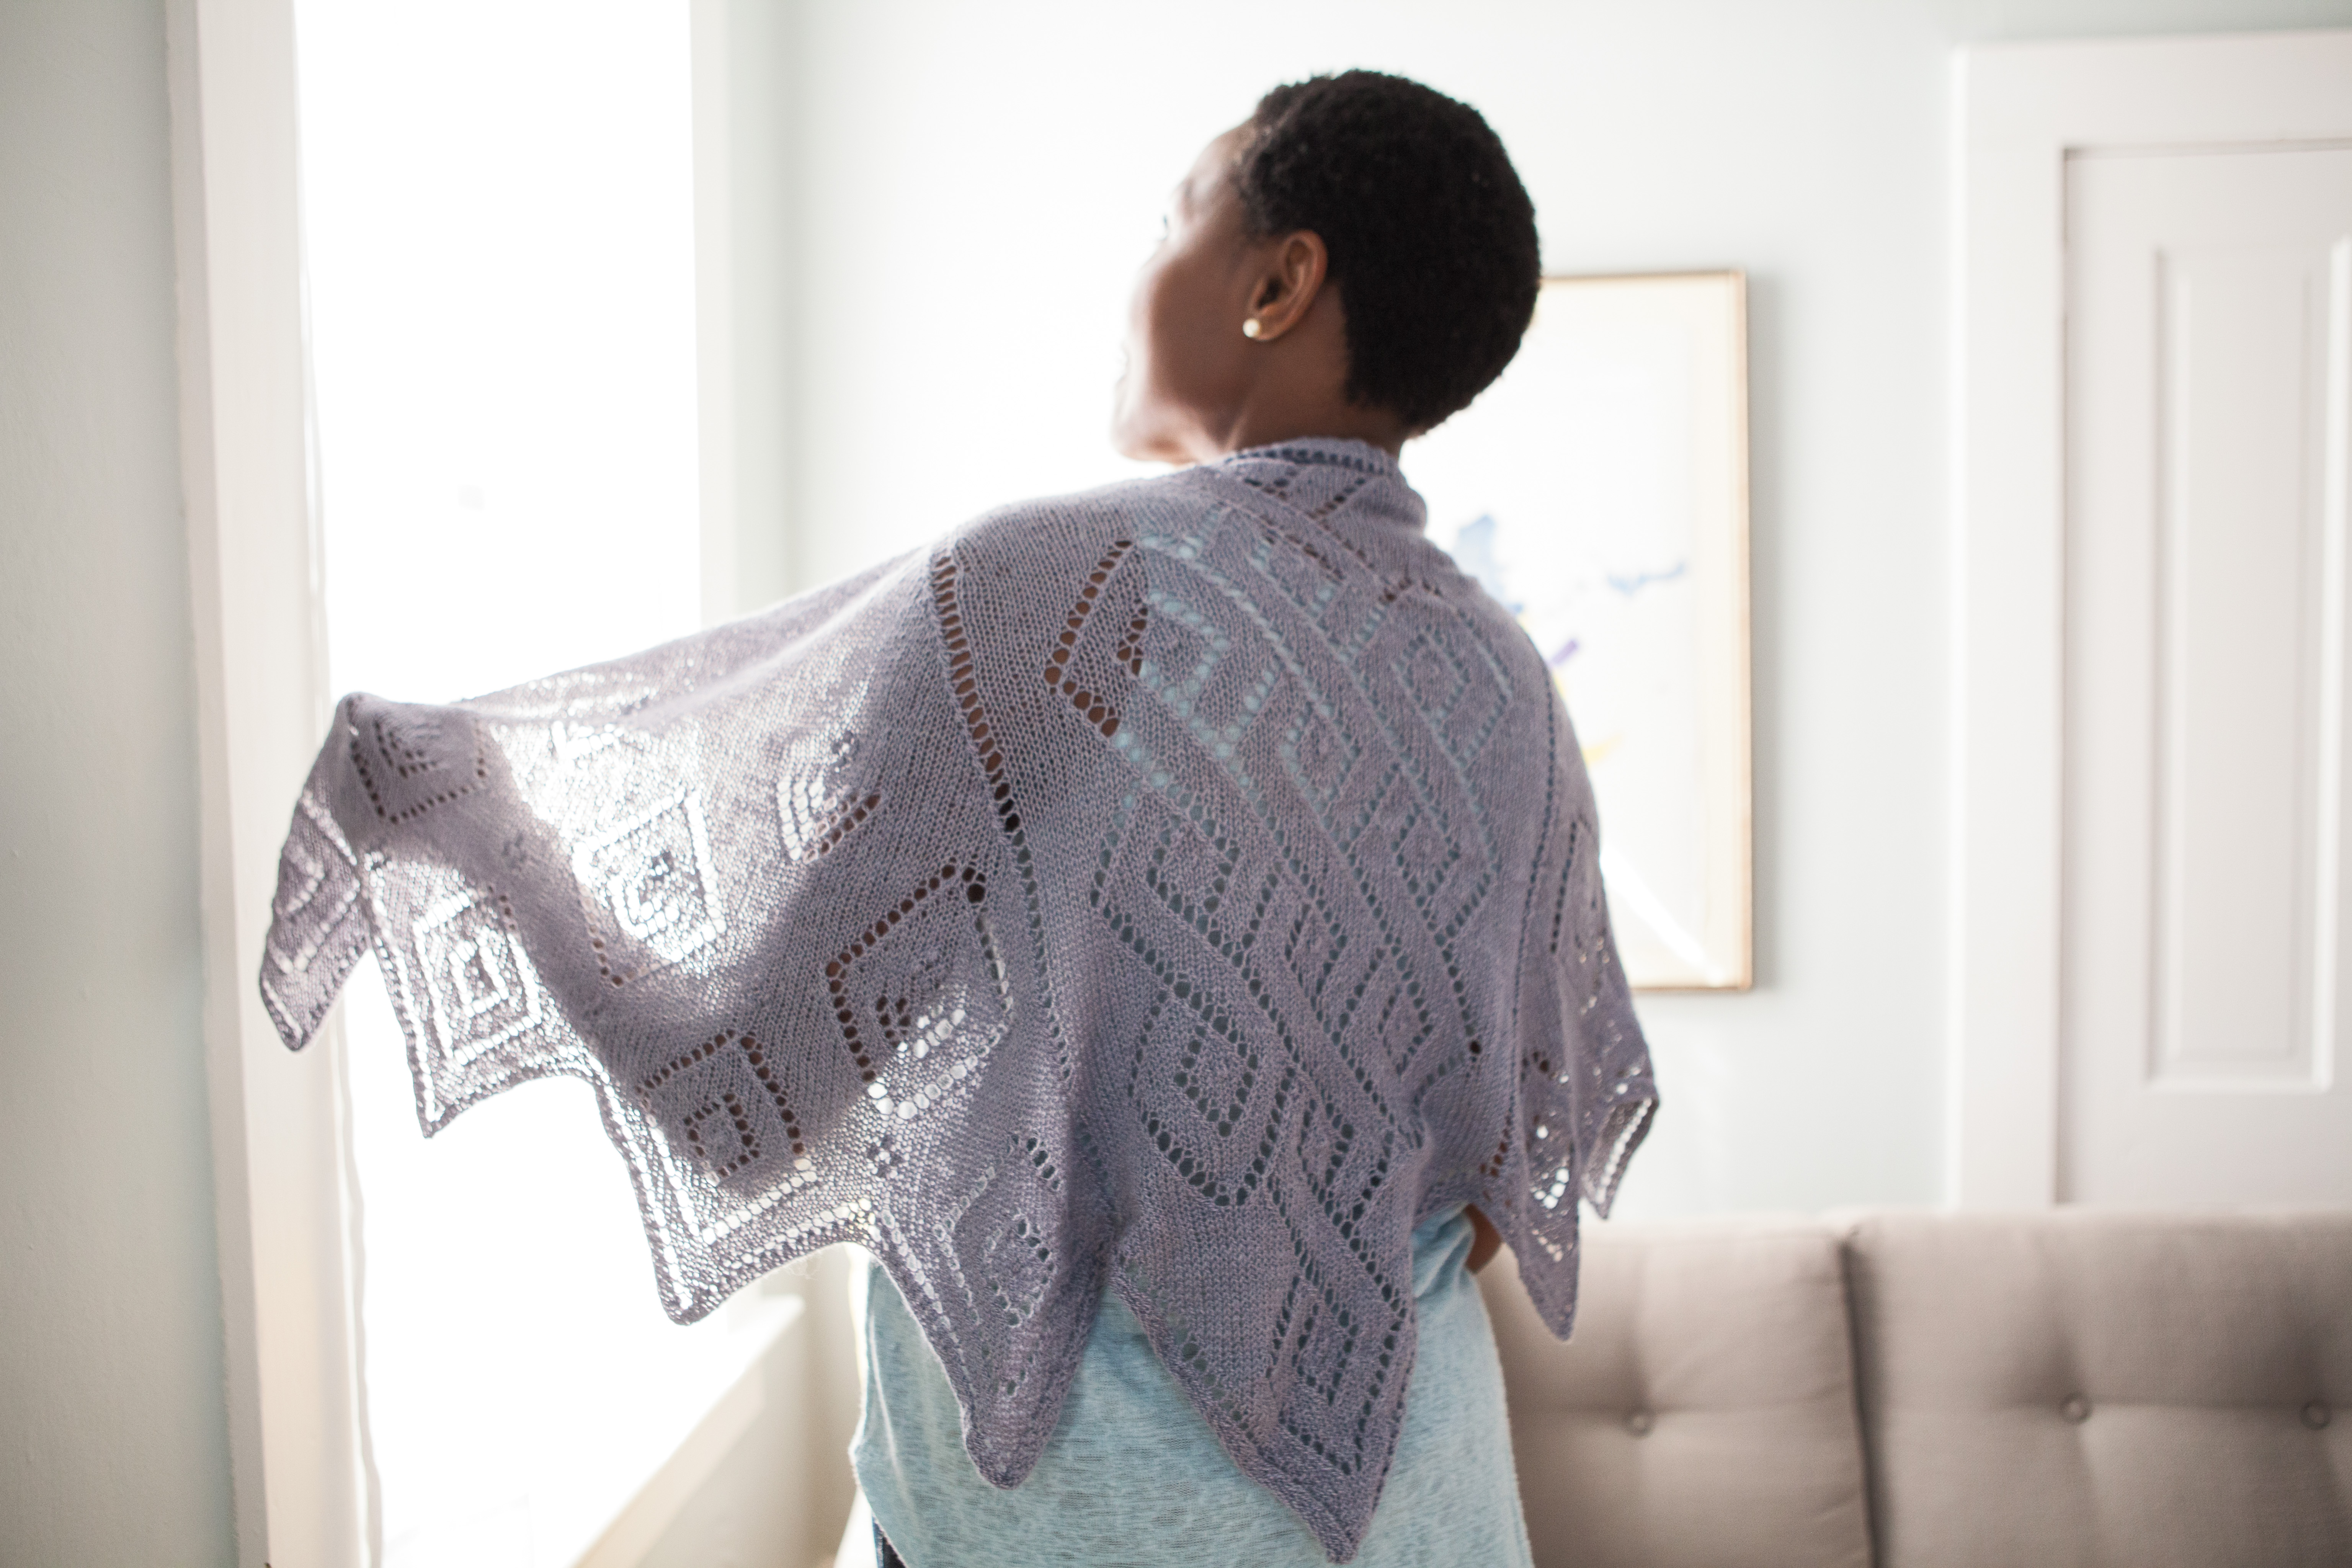
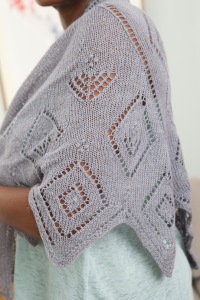
20160430_105112

Resources for Dyeing Wool

Resources for Dyeing Wool

I’ve been a little obsessed with the idea of doing more of my own yarn dyeing and so I’ve been accumulating books and websites that seem useful.  Each resource has it’s pros and cons.  I have yet to find one resource that serves as a manual as good as some of the ones that I have on fabric dyeing from my quilting days.  Here are a few of my favorites so far.

Hand Dyeing Yarn and Fleece by Gail Callahan is a good overall resource.  The author starts out with a good amount of basic theory and descriptions of general procedures and then follows with procedures for a number of different dyeing techniques.

I also have checked out from my library The Yarn Lover’s Guide to Hand Dyeing by Linda LaBelle.  Linda does not have as much basic material in her book, instead it is a series of experiments organized by technique and type of dye used.  In the series of techniques, she shows how to make self striping yarns, short repeats, long repeats, confetti type yarns, etc. but she doesn’t really give you the big picture of how to do the technique for a desired style of yarn, you have to infer it from the directions.

The website Dye Your Yarn has a lot of information about using food coloring, drink mixes, etc. for food safe yarn dyeing.  The site’s techniques are a bit different than some of the ones recommended in the above books, but the photos of the ranges of colors you can get are amazing.

Knitty Magazine has articles on dyeing both plant based fibers (cotton, linen, etc.) and animal fibers (wool, silk, etc.).

Dharma Trading Company has various tutorials, though they tend to be focused more on fabric dyeing than yarn and fiber dyeing.  Here is one on handpainting yarn and you can find others by searching the site.  (Also, don’t miss the 62 or so undyed yarns you can purchase from them!)

Finally, Fiber Artsy and Craftsy has quite a few posts on how to dye using various techniques.  Here’s a page to start with about kettle dyeing yarn.


Wool Dyeing Experiments

Wool Dyeing Experiments

I had a really great time this weekend doing a little wool dyeing experiment with easy to access materials and kitchen equipment.

It turns out that food coloring works well as an acid dye on protein fibers– we experience this ourselves when we stain our hands with food coloring.  With the addition of an acid (white vinegar, in this case), food coloring makes a lightfast and washfast dye for wool yarn.

My experiments started with a ball of white Cascade 200 Superwash, which I wound off into approximately 4 yard hanks.  I soaked them in a solution of 3 parts water to one part vinegar.

20160319_132351

Meanwhile, I mixed solutions of food coloring with water according to the color experiment in the book Hand Dyeing Yarn and Fleece by Gail Callahan.  Basically, I filled eight jars with 2 cups of water each.  I had a box of both McCormicks Basic food colors and a box of McCormicks Neon food colors.  Here were my measurements for the eight jars.

  1. 1 t. yellow
  2. 1/2 t. red
  3. 1/4 t. blue
  4. 1/2 t. green
  5. 1/2 t. neon pink
  6. 1/2 t. neon blue
  7. 1/2 t. neon green
  8. 1/2 t. neon purple

Why the different amounts?  Gail doesn’t really talk about this but I know from dyeing fabric that some colors are stronger than others.  Yellow is the weakest blue the strongest.  The differences in dye amounts is so that one teaspoon of yellow solution can be treated as equal strength to one teaspoon of blue solution.  Equal parts of each will make a nice middling green.  If you mixed the water/dye solutions with equal amounts of food coloring you’d have to use about four parts yellow to one part blue to make a middling green.

20160319_132531

I then used a modified version of Gail’s color wheel experiment (using half the amount of total liquid) to make a 12 step color wheel in the basic colors and again in the neon colors.  The process was to put about 6 teaspoons total of the food coloring/water solutions into each jar and then squeeze out a yarn hank from my bucket and drop one into each jar.  I’d stir it around a bit with a chopstick, but I accepted the idea that the the yarn would be a little variegated.

20160319_132421

I let the yarn sit in the solution for about 30 minutes, then I microwaved the jars, four at a time, for 1 minute and then again for another 30 seconds or so until the water in the jar was clear and all the dye was absorbed.  I pulled the hanks out and let them cool on a wire rack so I could use the jars for the next set of experiments.

20160319_132556

After the color wheels, I experimented with tints and shades.  I made tints by using mostly plain water and just a little dye solution and I made shades by adding 1/2 to 1 teaspoon of the opposite color on the color wheel to each of the colors from a six step color wheel.  I also made a full strength sample and a tint of the secondary colors I hadn’t used in my color wheel and I experimented with making some browns with two or three colors mixed.

In the end I had about 45 little hanks of yarn.

yarn

I could have kept going and played with more variations on tints and shades and experimenting with how saturated color I could get by adding more and more dye, but I ran out of yarn hanks and didn’t have more white yarn to wind up!

After everything was dry, I wound the little skeins onto clothes pins to make a tin of “yarn pegs” inspired by this post from Attic 24.  Now I can play with my own little tin of colors!

yarnpegs

The best part about dyeing with food coloring?  I could do it in my kitchen with minimal expense and worry.  I got to play with color and make something beautiful!


Yes, and…

Yes, and…

When performing improvisationally, there is a “yes and” rule that says that you accept the contributions of other in the improv and that you always add your own bit as well.  Although I sometimes believe I am the boss of my designing and in total control, other days I have to admit that the design is ultimately an improvisation between myself, the yarn, and the pattern.  The pattern or the yarn try to tell me something and I need to say, “Yes, and….”

Last week I wrote about my current design and how it wasn’t working out.  This week the old yarn is rapidly being made into a sweater (LivedIn by Alicia Plummer).  I think it is happier in its life now that it is being held double and knit on size 10.5 needles.

IMG_20160228_171020 - Edited

I swatched a new yarn, with a new stripe pattern.  Of my possible solutions last week, I implemented two of them: larger yarn (DK weight vs. fingering) and a new stripe pattern using some other stripe designs from my swatches back in November.  Now I have a very easy to memorize four row repeat for the main body of the shawl cardigan with less stitches overall and although there is still an eight row repeat in the border, it is also pretty easy to remember once you’ve done it a few times.

stripe2

At my knitting group, they asked why I wasn’t just holding the old yarn double with the new stripe pattern.  Although it’s working out great held double for a sweater that’s virtually all stockinette, I wouldn’t want to deal with the chainette yarn held double with a lot of stitch manipulation because it’s a bit splitty.

Introducing my Patterns in kCDesigns

Introducing my Patterns in kCDesigns

If you have an iPad (or soon an Android tablet), you should know about Knit Companion.  This is a handy app that allows you to manipulate pdf knitwear patterns so that you can easily knit from the pattern, complete with row counters, magic markers that allow you to keep track of certain special stitches, and even combining charts so you don’t have to flip between pages.  Although knitters can set up a PDF pattern themselves in Knit Companion, many patterns are available that already have the set up work done for you in the kCDesigns shop!

I’m excited to announce that my patterns are now available in kCDesigns!

Screenshot 2016-03-03 at 11.46.42 AM - Edited


Project Bags

Project Bags

Over the weekend I stumbled upon this post on Ravelry with hundreds of comments from people showing off their homemade project bags.  I started “collecting” some of my favorite free designs for future sewing.  They tended to fall into a few categories.

Zippered Bags

My favorite here was the No Guts Boxy Pouch, which is a free download on Craftsy.  Really clean look and the boxy design seems it would store well.

But I also really like the Rosy Wedge Bag which also seemed like a great design but a different shape.

Drawstring Bags

There are lots of simple patterns for these as well.  I really liked the Origami Lotus Bag, also on Craftsy, because it had a little extra charm to it and I liked how it opened up flat.

But I’m intrigued by the many people who have made variations on the Lunch Bag, which has both handles and a drawstring to keep everything inside.

This Drawstring Project Bag has the added charm of a little handle so you could maybe keep a sock in there and knit standing up.

Japanese Knot Purse

This is sort of a category of its own of simple, lined, reversible bags with one long  and one short handle.  One handle slips through the other to close the bag.  There are lots of free patterns, but here is a good example.  I saw pictures of this bag design from huge to tiny, some with round, flat bottoms and others with a simpler seamed bottom.

Since I have lots of fabric from my quilting days and a few pretty things I’ve picked up at FabMo, I think some of these bags are in my future!